Vaulting is one of the most thrilling events in gymnastics. It’s fast, powerful, and over in just a few seconds. For beginners, vault can seem intimidating, but it’s also one of the most accessible apparatuses to start learning. With the right equipment, technique, and progression, young gymnasts can safely build confidence and strength on vault.
What Is the Vault in Gymnastics?
The vault is an artistic gymnastics apparatus that involves sprinting down a runway, jumping onto a springboard, propelling off the vault table, performing flips or twists in the air, and landing on a padded mat.
- For women (WAG): Vault is one of the four events.
- For men (MAG): Vault is one of the six events.
In both, the goal is the same: to show explosive power, controlled flight, and a stable landing.
Meet the Equipment
Before gymnasts ever attempt a vault, they need to get familiar with the setup. Each piece of equipment plays a role in safety, power, and technique.
1. Runway – Vault begins with speed. The runway is a long, carpeted track, up to 25 meters at the elite level that gives gymnasts room to accelerate. Beginners often start with shorter runs, focusing on control rather than maximum speed.
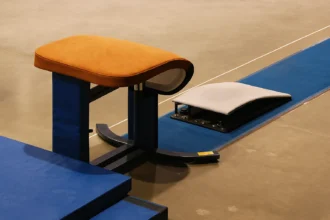
2. Springboard – This isn’t just a “bouncy board.” Made of layered wood or fiberglass with springs underneath, the springboard stores the gymnast’s energy and releases it when they “punch” (jump with both feet) onto it. A sharp, well-timed punch is what launches the gymnast upward.
3. Vault Table – Modern vault tables are wide and slightly sloped, with a textured, grippy surface designed to protect the hands and shoulders. They replaced the old “vaulting horse” to make vaulting safer and more versatile for today’s powerful skills.
4. Safety Collar (for round-off entries) – When gymnasts learn Yurchenko-style vaults, a padded ring is placed around the board. This collar cushions the arms and wrists in case the gymnast’s hands land awkwardly or drift off the board during the back handspring entry.
5. Mats – Thick landing mats absorb impact during landings, while softer mat stacks or foam pits are used for drills and early skill development. These allow gymnasts to practice shapes, timing, and blocks without the risk of a hard landing.
The Three Phases of a Basic Vault
A successful vault, even a beginner-level one, can be broken down into three main phases: the run and pre-flight, the table contact, and the post-flight and landing.
The Run and Pre-Flight
This is where the vault begins. The run is crucial for building the momentum needed to propel the gymnast over the vaulting table.
- The Run: The gymnast starts from a stationary position and accelerates down a 25-meter runway. The run should be fast but controlled, with a steady increase in speed. A consistent, powerful stride is key.
- The Springboard: The gymnast plants their feet on a springboard, transferring the horizontal momentum from the run into vertical lift. The jump onto the springboard should be a two-foot takeoff, with the hips held high and the body in a strong, tight position. A common beginner mistake is to slow down or take short steps right before the springboard, which kills the momentum.
The Table Contact
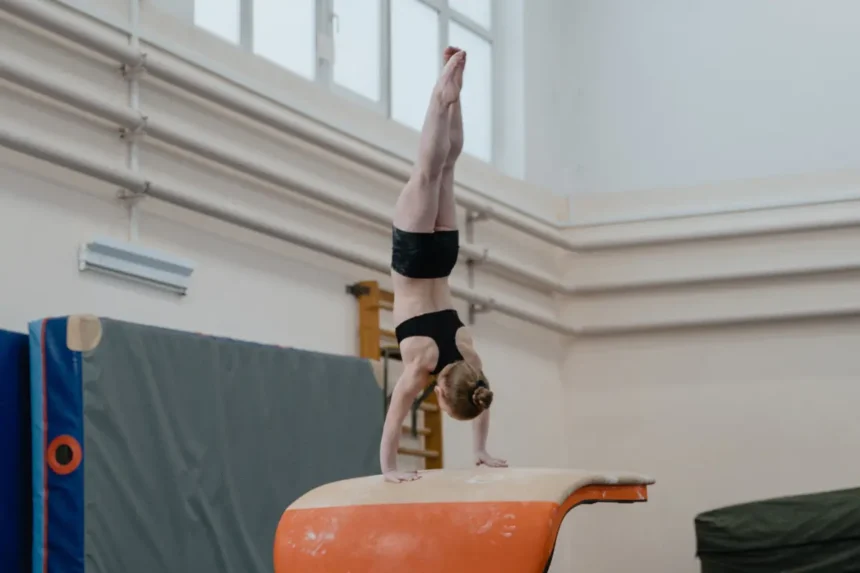
This is the most critical part of the vault, where the gymnast’s hands make contact with the vaulting table. For beginners, the focus is on a straight-body handstand shape, not on advanced twists or flips.
- The Hand Placement: The hands should be placed shoulder-width apart on the vaulting table. The arms must be straight and locked. The hands act as a pivot point for the push-off.
- The Push-Off: This is a quick and explosive action. The gymnast should push off the vaulting table using their shoulders, not their wrists. The goal is to repel off the table with a powerful, fast motion. The body should remain tight and in a straight line, similar to a handstand. This is often referred to as a “block” or “repulsion.”
The Post-Flight and Landing
After the push-off, the gymnast is in the air. The focus here is on body control and a safe landing.
- The Post-Flight: For a basic vault, the gymnast’s body should remain in a straight, tight line with the legs together. The head should be in a neutral position, looking forward.
- The Landing: The landing is just as important as the vault itself. The gymnast should land on two feet simultaneously, with the knees bent to absorb the impact. The landing should be controlled and stable. A good landing is a “stuck” landing, where the gymnast does not take a step or stumble.
A Step-by-Step Guide for Beginner Gymnasts
Learning the vault requires a progressive approach, focusing on mastering each part before moving on to the next.
- Start with the Run: Practice a fast, controlled run on a flat surface. This builds speed and stamina, which are fundamental to the vault. Focus on building a consistent rhythm in your stride.
- Springboard Drills: Practice jumping onto the springboard and landing on a mat in a tight, hollow body position. This teaches you how to transfer your horizontal speed into vertical height.
- Vaulting Table Progression:
- Handstand Drills: Start by practicing handstands against a wall or with a spotter. This builds the shoulder strength and body awareness needed for the table contact.
- Block Drills: Practice pushing off a mat or small block from a handstand position. This teaches the explosive “block” action from the shoulders.
- On-Table Drills: Using a spotting mat and with a coach present, practice placing your hands on the vaulting table and performing a simple handstand shape, pushing off into a controlled fall or dismount.
- Putting It All Together: Once you’ve mastered the individual components, it’s time to combine them. Start with a slow, controlled run, a solid springboard takeoff, and a push-off from the vaulting table into a basic handstand shape, landing safely on a crash mat.
- Adding a “Half-Turn”: The next step for many beginners is the “front handspring vault” or a “Yurchenko entry” with a “half-on, half-off” progression. This is where a small twist is introduced after the table. This should only be done under the supervision of a qualified coach.
How Beginner Vaults Are Judged (High Level)
- Distance & height come mostly from a clean run, tight board punch, and real shoulder block.
- Form (straight legs, pointed toes, neutral head) matters at every phase.
- Control on landing (small steps vs. big hops) affects deductions.
- For entry-level vaults (like handstand flat-back), judges want to see a straight body line to handstand and a positive block—even if you’re not going over the table yet.
(Exact rules and deductions vary by program and cycle. Your coach will align training with your league’s code.)
Common Beginner Errors (and Quick Fixes)
- Loose core / banana shape
Fix: more hollow work; cue “ribs down, butt tight.” Use wall handstands to feel straight line. - Bent arms on the table
Fix: block shrugs and handstand shoulder taps. Cue “push the table away.” - Heels dropping before contact
Fix: snap-down drills and “toes to nose” cue on board hit. - Reaching late to the table
Fix: slow-down timers; set a visual spot on the table; cue “hands early.” - Under-rotated landings
Fix: higher mats during learning phases; ride the block longer; keep eyes neutral.
Quick FAQ
Do beginners need to flip?
No. Most programs start with handstand flat-back and progress to front handspring over time.
What’s the most important piece for new vaulters?
A tight body line plus a real shoulder block. Get those right and everything gets easier.
How fast should I run?
Fast enough to create spring, but under control. Smooth acceleration beats sprint-and-hope.
Why do coaches stack so many mats?
Higher mats reduce impact and let you focus on shapes and timing, confidence first, then height.
In a word, great vaulting starts long before you ever fly over the table. Nail the shapes, learn a quiet and consistent board punch, and build a powerful shoulder block on soft mats.