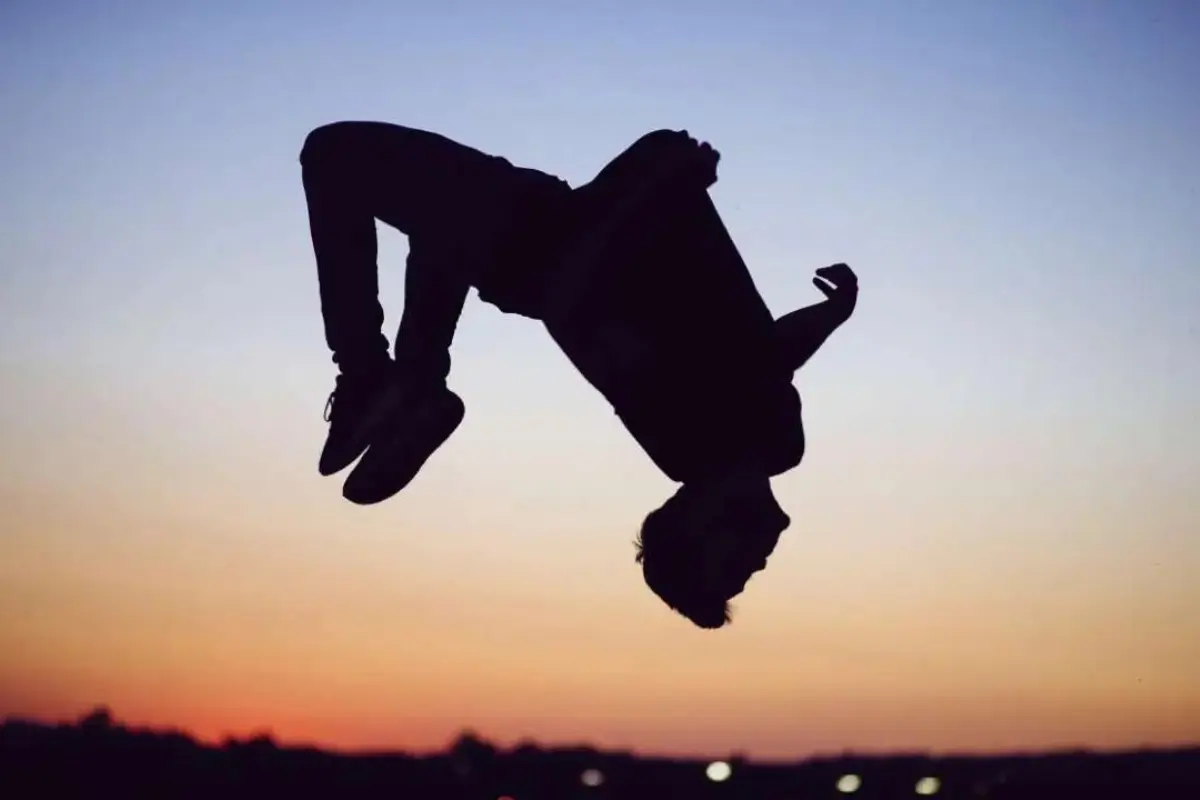
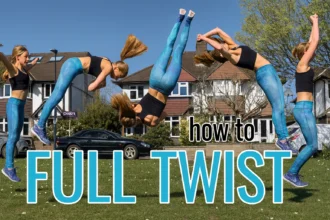
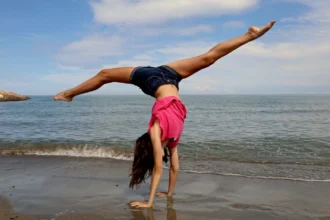
A back handspring is one of the most impressive gymnastic moves, combining strength, flexibility, and timing into a fluid, acrobatic skill. While it may look intimidating at first, with consistent practice and step-by-step progression, anyone can master it.
In this tutorial, we’ll guide you through a seven-step process that will help you build the foundational skills necessary to conquer the back handspring.
Step 1: Backwards Roll
The backwards roll is a foundational skill for any gymnast working on backward momentum. This simple yet effective move teaches you how to safely roll over your back, which is essential for mastering more advanced moves like the back handspring.
How to do it:
- Begin sitting on a mat with your knees bent and your hands placed beside your ears, fingers pointing toward your shoulders.
- Push off your feet and roll backward over your shoulders, ensuring you tuck your chin to your chest to protect your neck.
- The goal is to roll smoothly over the rounded part of your back, landing gently on your feet.
This exercise will help you develop body awareness and control while moving backward, which is crucial for the back handspring.
Step 2: Full Extension Bridge
A full extension bridge is great for building flexibility and strength in the shoulders, arms, and back—key muscles needed for the back handspring.
How to do it:
- Start by lying on your back with your knees bent and feet flat on the floor. Place your hands by your ears with fingers pointing towards your shoulders.
- Push through your hands and feet, lifting your body into an arched position. Your arms and legs should be straight, forming a continuous curve from hands to feet.
- Hold this position for several seconds, focusing on creating a smooth, controlled bridge.
This move will strengthen the muscles needed to support your body during the back handspring and help improve flexibility in your back and shoulders.
Step 3: Elevated Bridge Kick Over
Once you’re comfortable with the full extension bridge, the elevated bridge kick over adds an extra challenge by improving flexibility, control, and body awareness.
How to do it:
- Begin in a bridge position with your feet elevated on a block or step.
- Shift your weight onto one foot and kick your other leg over, allowing your body to rotate in a fluid arc. Follow through with your second leg to land on your feet.
This variation of the bridge teaches you how to control the momentum needed to execute a back handspring, while also promoting hip flexibility.
Step 4: Bridge Kick Over
Next, move to the floor for the traditional bridge kick over. This move builds on the previous one and helps with coordination and momentum transfer—key elements of the back handspring.
How to do it:
- Start in a bridge position on flat ground.
- Push off strongly from your supporting leg, using the momentum to bring your other leg over and land on your feet.
- Focus on making the movement fluid and controlled, rather than rushing it.
The bridge kick over refines your ability to shift body weight and coordinate your arms and legs, which is essential when performing a back handspring.
Step 5: Valdez
The Valdez is an advanced step that develops the flexibility, power, and coordination needed for a successful back handspring. It involves a dynamic movement that simulates the arc of a back handspring.
How to do it:
- Start in a sitting position with one leg extended.
- Place your hands on the floor behind you and swing your bent leg backward, propelling your body into a smooth, controlled arc.
- Aim to land on your feet after rotating over your hands.
The Valdez teaches you how to control rotational dynamics, which is a crucial aspect of the back handspring.
Step 6: Roundabout Back Handspring
The roundabout back handspring introduces momentum into the move, adding a run-up that increases complexity. This step builds the skills necessary to generate the speed and power required for a full back handspring.
How to do it:
- Start with a short run, then transition into a round-off by turning your body sideways and placing your hands on the ground.
- Push off the ground, bringing your feet over your head in a controlled manner and land on your feet.
By adding a run-up, this step helps you harness forward momentum and teaches you how to transition from a round-off into a back handspring.
Step 7: Back Handspring
Finally, we arrive at the full back handspring. This move combines all the elements of the previous steps: arm swing, body control, and precise timing.
How to do it:
- Begin by swinging your arms strongly backward to generate momentum.
- As your hands reach the ground, push off with your legs, bringing your feet over your head in a tight arc.
- Your hands should support your weight as your body moves through the air, and your feet should land firmly on the ground with a slight bend in the knees to absorb the impact.
Executing a back handspring requires strength, flexibility, and fearlessness. The more you practice, the more your body will develop the necessary skills and coordination to execute this move confidently.
The Challenges of Learning a Back Handspring as an Adult
Learning a back handspring as an adult presents unique challenges. Unlike children, adults may encounter physical and psychological barriers that make this move more difficult to master. Let’s explore some of these challenges and strategies to overcome them.
Reduced Flexibility
As we age, our flexibility naturally decreases, making it harder to execute explosive gymnastic movements like the back handspring. Without proper flexibility, achieving the full range of motion needed for the back handspring can be a struggle.
How to overcome this:
- Incorporate consistent stretching routines, focusing on the back, shoulders, hips, and legs.
- Use dynamic stretches before training and static stretches afterward to increase flexibility over time.
Coordination and Technique
Executing a back handspring requires more than just physical strength—it’s all about technique and coordination. The key lies in timing your jump, tucking at the right moment, and landing safely.
How to overcome this:
- Break down the movement into smaller components and focus on mastering each step before progressing.
- Be patient and consistent in your practice, as it may take longer for adults to develop the motor skills required for gymnastics.
Decreased Physical Resilience
Adult bodies generally take longer to recover and are more prone to injuries. This can be discouraging, but it’s important to listen to your body and avoid pushing through pain.
How to overcome this:
- Rest and recovery are just as important as training. Give your body time to heal after intense practice sessions.
- Consult a healthcare professional to ensure you’re following the safest approach for your body.
Ultimately, learning a back handspring as an adult is more than just about physical fitness—it’s about challenging yourself, overcoming fears, and developing perseverance. With the right training, mindset, and patience, you can achieve this exciting gymnastic skill. Keep practicing and don’t be afraid to push your limits!
