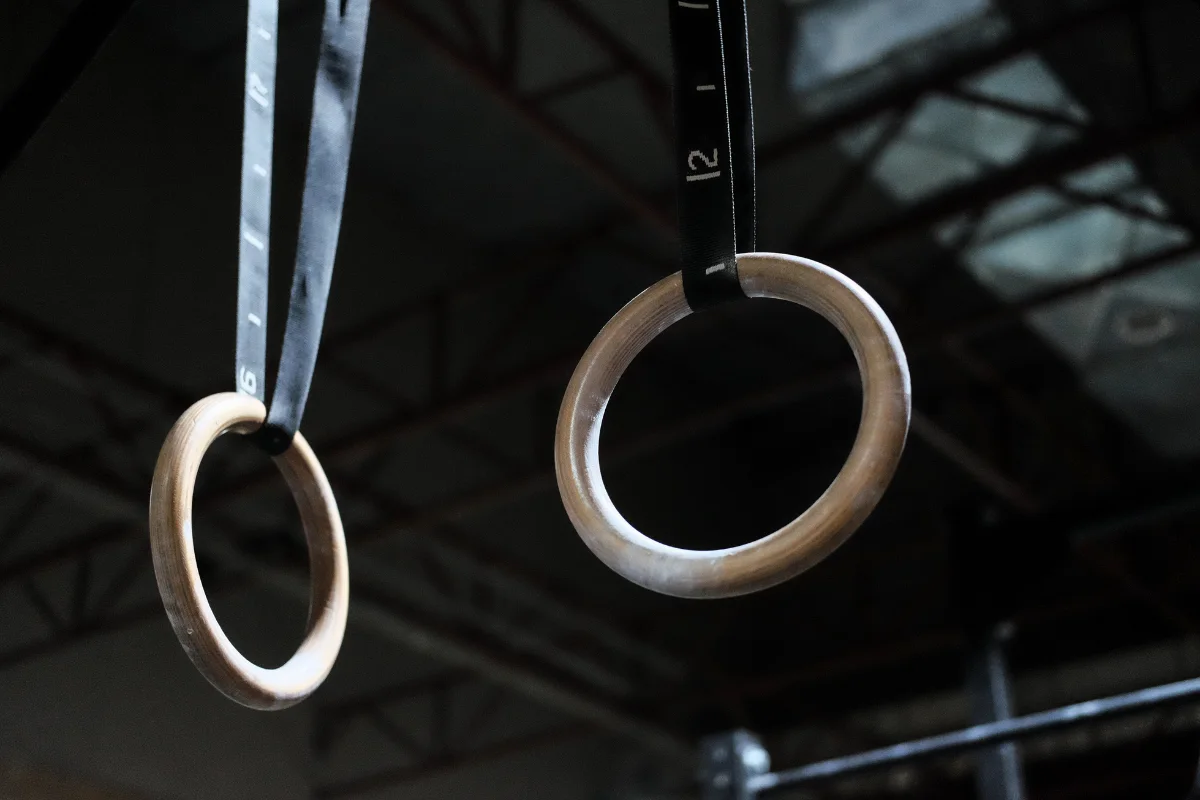
A useful rings setup starts with a suitable support and the instructions for the exact equipment. It does not start by finding something that looks strong and hanging from it to see whether it holds. The rings, straps, attachment and supporting structure all need to be appropriate for the intended exercise.
This guide explains the decisions to make before training and the checks to repeat when adjusting the equipment. It is not a substitute for the product’s assembly diagrams or a professional assessment of a building structure. Different buckles, anchors and apparatus systems need different installation methods.
1. Define the exercise and the user
Write down what the setup is for: supported rows, controlled pull-ups, a coached support exercise or another specified task. A low strength station and a competition rings apparatus have different demands. The equipment should be selected and installed for the activity actually planned.
Also check who may use it. Age restrictions are product-specific. For example, the GORNATION Workout Rings manual excludes children under 14 and provides additional conditions for older children. Do not assume that a product is appropriate for a young gymnast simply because it is called gymnastics rings.
For a child’s home assignment, settle the exercise and equipment choice with the coach first. The beginner rings guide explains why initial familiarization should be separate from advanced skill practice.
2. Confirm the supporting structure
Use only a support suitable for the loads and attachment method described by the manufacturer. A ceiling anchor needs an appropriate structural location and compatible fixings. The visible ceiling surface alone does not reveal whether the structure behind it is suitable.
A pull-up bar also needs explicit consideration. It may be rated and installed for particular exercises without being approved to carry suspended rings. Read both sets of instructions and confirm that the proposed combination is permitted. A bar that does not move during one pull-up has not thereby been certified for every ring exercise.
Do not treat an ordinary door, exposed pipe, playground fitting or tree branch as an automatically acceptable anchor. Access permission, intended use, structure, condition and attachment compatibility all matter. If those cannot be established, choose a suitable training location instead of conducting an improvised test.
Where a building structure or fixing is uncertain, ask a competent installer or relevant professional. The Extend-It doorway bar instructions, for example, call for checking the frame and obtaining specialist advice when its suitability is uncertain. That illustrates the importance of the support, not a general endorsement of doorway mounting.
3. Inspect every component before assembly
Check the rings for cracks, splinters or other damage, and examine the straps, stitching, buckles and attachment components. Look for wear, cuts, corrosion, deformation or a locking part that does not work as intended. Use the manufacturer’s inspection and replacement criteria.
Keep the original matched components together where possible. Do not replace a damaged part with a convenient household strap, carabiner or fastener without confirmation that it is suitable. A component that fits physically may still be incompatible with the system.
Read the load rating in context. Establish whether it applies to a single component or the complete setup, and under which conditions. The largest number on the packaging cannot establish the capacity of an unrelated anchor.
4. Follow the exact threading diagram
Lay out the straps and identify their intended route through the rings, support and buckle. Follow the supplied diagram in the orientation it shows. A generic instruction such as “always thread from the bottom” can be misleading when the buckle is a different design or is being viewed from the opposite side.
Feed and secure each strap according to the manufacturer’s directions, keeping it free of unintended twists and avoiding sharp or abrasive contact surfaces. Check that the locking mechanism is fully engaged. If the strap route is unclear, stop and obtain clarification rather than guessing.
Adjust only when the apparatus is unloaded. Keep fingers clear of moving locking parts, and repeat the assembly check after changing the height. Familiarity is useful, but it should not replace checking that the strap has actually been secured.
5. Set height and space for the task
There is no single beginner height that suits every person and exercise. A supported row needs a workable body angle and dependable foot contact. A coached support drill may need the feet close enough to the floor for the intended assistance. A full hanging exercise has different clearance requirements.
Consider the complete movement, including how the person gets into position and finishes. Check space above, below, in front and behind, and remove nearby obstacles. Avoid arranging an exercise so that loss of control would put the head beside furniture or another hard object.
The 2026 FIG apparatus specifications describe a competition rings system with the lower inner side of the rings 290 centimeters above the floor. That is a competition apparatus measurement, not a recommended home height or a beginner setup instruction.
6. Check the final ring positions
Match the working heights after installation. Numbered straps help repeat a setting, but the actual ring positions also depend on the support height and the path taken by each strap. Check the finished arrangement rather than trusting matching numbers alone.
Position the rings and straps as required for the assigned task. Do not move the supports far apart simply because a wider stance looks more stable, or shorten the straps without considering whether the exercise still fits. The coach’s task and the manufacturer’s limits should agree.
Secure excess strap length using the intended retainers or another manufacturer-approved method. Keep loose material out of the movement area. Do not cut, burn, glue or knot load-bearing straps as an improvised solution unless the manufacturer specifically instructs that modification.
7. Use the prescribed pre-use check
Follow the manufacturer’s loading and inspection procedure before exercise. A homemade bounce test is not a structural test and should not be used to prove an uncertain anchor is strong enough. Sudden extra loading can create the very problem the check is supposed to prevent.
| Check | Question before use |
|---|---|
| Support | Is this installation approved for the intended activity? |
| Components | Are the rings, straps and locks in acceptable condition? |
| Adjustment | Are both sides secured at the intended positions? |
| Space | Can the whole exercise and its exit fit without obstacles? |
| User | Are the product restrictions and supervision requirements met? |
Keep the setup reliable between sessions
Stop using equipment that slips, changes position unexpectedly or shows damage. Recheck it after adjustments and follow the maintenance schedule. Store it according to the material-specific instructions, and prevent children from treating unattended straps as play equipment.
A portable strength setup does not become suitable for releases, large swings, dismounts or inverted skills because a mat has been added. Those activities belong on appropriate apparatus with qualified coaching. For ordinary conditioning, a clearly defined task and a correctly maintained setup provide a more useful starting point than maximum height or maximum complexity.