Gymnastics Rings Chest Workout: Push-Ups, Dips and Progressions
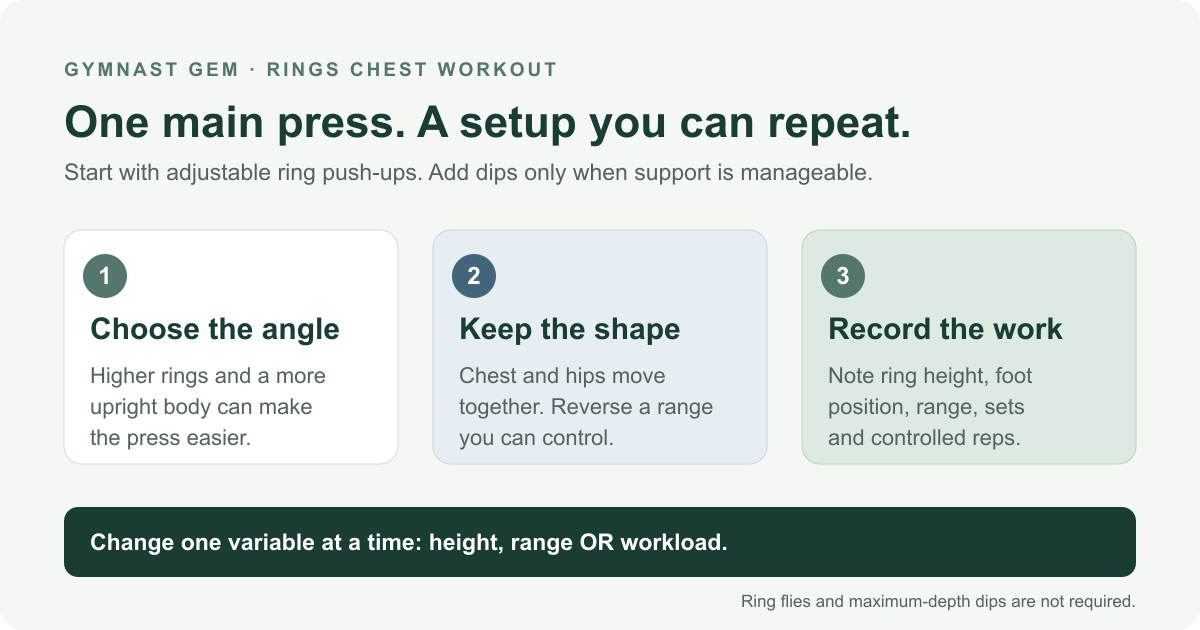
A gymnastics rings chest workout can start with one adjustable exercise: the ring push-up. Raise the rings and keep your body more upright to make the press easier; lower them gradually when you can control the movement. Dips are an additional option, not a requirement for a useful session.
Contents
The aim is repeatable pressing through a comfortable range, with the chest, shoulders and triceps working together. You do not need maximum-depth dips, elevated feet or ring flies simply because an experienced athlete uses them in a video.
Choose a setup that lets you control the rings
Use a suitable anchor, sound straps and equal ring heights. Follow the instructions for your exact equipment, including the buckle direction and position. Rogue’s standard-strap manual, for example, specifies keeping its buckle away from the ring and anchoring point. A strap that appears to hold when unloaded still needs to be installed correctly.
Keep the floor clear and use a surface where the feet will not slide. Start with the rings high enough that you can lean into them without losing control. Before adding repetitions, check that you can stand back up and unload your hands easily.
Rings allow each hand to move independently. That freedom can make a familiar push-up more demanding, but extra shaking is not automatically useful training. If the handles keep escaping sideways, use a more upright position or a stable elevated support first. Our beginner’s ring training guide covers the broader setup and preparation.
Warm up with general movement and easier versions of the press you intend to use. The first working set should not be your first attempt at that angle or range.
Make the ring push-up your main chest exercise
Hold the rings with a secure grip and the palms facing one another. Step back into an inclined plank, keeping the head, trunk and legs in one long line. Choose your foot position before beginning; repeatedly walking the feet during a set makes the work difficult to compare.
Bend the elbows and bring the chest toward the space between the rings. Let the elbows travel back and slightly outward rather than forcing them against the ribs or spreading the arms into a wide cross. Keep the rings near the sides of the chest as you lower.
Stop at a depth you can reverse smoothly without the shoulders collapsing forward or the rings drifting away. Press through the handles and return to straight arms while bringing the trunk and hips up together. Do not finish by lifting the chest first and dragging the lower body behind it.
The rings permit more depth than the floor, but available space is not a target you must fill. An initially shorter, controlled range is easier to monitor than an uncontrolled stretch at the bottom. If a repetition produces pain, stop rather than using the next repetition to test it again.
Watch the press, then choose your own angle
This GMB Fitness video includes a ring push-up and a ring dip. The push-up uses low rings with the feet on the ground, while the dip suspends the full body. Those are demonstrations to study; a higher incline or foot assistance may fit your current session better.
The push-up, labeled Level 1A on screen, starts at 3:46, and the dip, labeled Level 2A, at 3:58. The reverse row between them is the pulling exercise paired with the push-up. GMB’s written rings guide supplies exercise notes. The sets and timings given in the full video are one programming example, not the amount of work every reader needs.
Add dips only when the support is manageable
A ring dip starts with the body upright between the rings, supported through the hands. Before adding the lowering movement, establish that top position with the rings close to the body and shoulders controlled. Do not make a deep dip the first test of whether you can support yourself.
For a foot-assisted version, adjust the rings so the feet can stay on the floor. Keep enough pressure through the legs to steady the rings. Bend the elbows and knees together to lower a small amount, then use the legs as needed while pressing back to the start.
The feet are there to supply useful assistance, not simply to touch the ground while the upper body struggles. Record how you use them. Otherwise, a set can appear to improve merely because you push harder with the legs.
In an unassisted dip, control the descent and press back without bouncing or letting the rings spread. Choose the range from your ability to reverse it, not an instruction to go as low as possible. Wider-arm variations, extra weight and a deeper bottom position all change the task; none is an automatic next step.
Build a small, repeatable workout
Use the push-up as the main working exercise. Start with an easier rehearsal set, then choose a manageable number of working sets and repetitions that you can repeat without losing the body line. Finish each set while you still control the next return to standing. Rest long enough to reproduce the setup and movement.
| Part | Exercise choice | What to record | When to simplify |
|---|---|---|---|
| Rehearsal | Easy incline ring push-ups, or push-ups against a stable support | Comfort and control through the intended range | The rings drift or the feet slide before the set starts |
| Main work | Ring push-ups at one consistent height and foot position | Sets, controlled repetitions and lowering depth | The hips sag, elbows change course or the return becomes uneven |
| Optional addition | Foot-assisted support and shallow dips; unassisted dips only if already established | Foot assistance, range and ring position | You cannot maintain the top support or reverse the lowering |
| Review | Compare the last working set with the first | Which part changed as fatigue increased? | End the session rather than adding a difficult finisher |
For an illustrative starter session, rehearse a few easy presses at a high incline, then try two sets of six ring push-ups at one comfortable setup. Rest between sets until you can repeat the body line and breathing without rushing; about a minute is a possible starting pause, with longer rest if needed. Omit dips initially. If assisted dips are already familiar, you could instead add one short set of three to five controlled repetitions. These are adjustable examples, not minimums or advancement tests; reduce the work when control changes.
Keep this as the pressing part of a wider program. The ring exercise guide covers pulling and other movements, while our gymnastics conditioning guide explains how different training tasks fit together.
Progress without changing everything at once
When the current setup becomes reliably manageable, choose one change: add a controlled repetition, lower the rings slightly, or extend the usable range a little. Keep the remaining variables similar. Lowering the rings, lifting the feet and adding sets together makes it difficult to identify which change caused the loss of control.
More advanced does not always mean more useful for your goal. Ring flies take the arms farther from the body and can become difficult quickly; they are not a necessary beginner chest exercise. Feet-elevated push-ups and weighted dips are also options for appropriate experience, not obligatory finishers.
Leave room for recovery alongside other gymnastics or strength sessions. Persistent soreness, falling performance or repeatedly deteriorating technique are reasons to review the workload rather than adding more. For ongoing pain, get an appropriate assessment instead of repeatedly changing exercises around the same symptom.
Final Takeaway
Start a rings chest workout with a push-up variation you can repeat and measure. Use height, range and foot assistance to match the task to your present control. Dips can expand the session later; maximum depth, extra instability and ring flies are not requirements for progress.
Main Sources
- GMB Fitness, Ryan Hurst — Rings Workouts: written exercise notes.
- GMB Fitness: 3 Gymnastic Rings Workouts: the ring push-up and dip in the embedded clip.
- American Council on Exercise — Push-Up: body alignment through lowering and pressing.
- NASM — Incline Push-Up and Progressive Overload Explained: adjusting difficulty and tracking work.
- Rogue Fitness — Gymnastic Rings instructions: equipment-specific strap setup.