The backflip, also known as a back tuck or somersault, is a thrilling acrobatic maneuver where a person rotates 360 degrees backwards in the air, landing on their feet.
But mastering a backflip isn’t just about throwing yourself backwards and hoping for the best. It carries a significant risk of injury due to the athlete’s blind rotation. And that’s where spotting comes in.
The Role of Spotting in a Safe Backflip
Spotting a backflip is an active, engaged process that extends beyond mere observation. It requires constant vigilance, tracking the performer’s movements with precision and readiness to intervene at any moment. Even when working with experienced flippers, spotters must maintain unwavering attention.
Key aspects of effective spotting include:
- Continuous engagement: Stay fully focused on the performer’s movements at all times.
- Anticipation: Predict potential issues and be prepared to react instantly.
- Proper positioning: Maintain an optimal stance to assist without obstructing the flip.
- Adaptability: Adjust your approach based on the performer’s skill level and confidence.
As a spotter, remain hyper-aware of the surroundings, potential hazards, and the performer’s physical and mental state. Adapt your spotting technique to accommodate varying surfaces and conditions.
Here’s a step-by-step guide to spot a back tuck correctly and effectively:
1. Setting Up for the Spot
Before starting, make sure the person you’re spotting is positioned correctly. Have them stand facing forward, ready to attempt the back tuck. Your positioning and grip as the spotter are crucial.
- Positioning Your Hands:
Start by standing close behind the person attempting the back tuck. One method is to place your hand directly on their lower back. However, a safer option is to grasp the back of their shirt firmly.
By gathering a small, tight section of the shirt into your hand, you create a strong grip. This way, even if the person slips or loses balance, you can still pull them up, preventing any accidents like landing on their head.
- Hand Placement During the Flip:
Your dominant or “power” hand should be on the lower back of the person, ready to assist with both the height and rotation of their back tuck. As they swing their arms and jump, you’ll follow through, using gentle pressure to support their upward motion.
Meanwhile, your other hand should be placed near their thigh or calf. This hand will assist in completing the rotation by pushing them over, ensuring they don’t fall short of completing the tuck.
2. Body Positioning and Safety Tips
One of the most common mistakes people make when spotting is keeping their arm fully extended out of fear of getting hit during the flip. But in reality, you’re more likely to get hurt by doing this. Instead, focus on staying close and keeping your arms bent.
Arm Positioning:
When spotting, think of holding the person like you’re balancing a pizza. Your bent arms allow you to use the strength of your core, back, and shoulders to support their weight.
Keeping your arms straight makes it harder to control and increases the likelihood of injury for both parties.
Preparing for Contact:
It’s a natural part of spotting to occasionally get elbowed or bumped. Don’t worry too much—this is normal! Keep your elbows bent and stay close to your athlete. This position allows you to brace yourself and use your body’s strength to assist effectively.
3. Ensuring a Full Arm Swing
For a successful back tuck, the person performing the flip needs a full, unhindered arm swing. If your elbow is down or too close to them, their arms will collide with yours, disrupting the motion. Keep your elbow raised to allow their arms to swing fully behind them as they initiate the jump.
4. Supporting the Flip
As the person begins their back tuck, your hands should be working together to guide them. Your power hand on the lower back gives them the height and support needed, while the other hand on their leg helps them rotate smoothly.
If the person begins to lose control mid-flip or veers off course, your grip on their shirt will allow you to easily correct their trajectory and prevent them from falling forward.
5. Practicing the Spotting Technique
Now, it’s time to practice. Get in position, keep your hands ready, and prepare to follow through with the proper spotting technique.
With your hands placed correctly and your body close to the person performing the flip, you’ll be able to safely support their back tuck and help them build confidence in their skills.
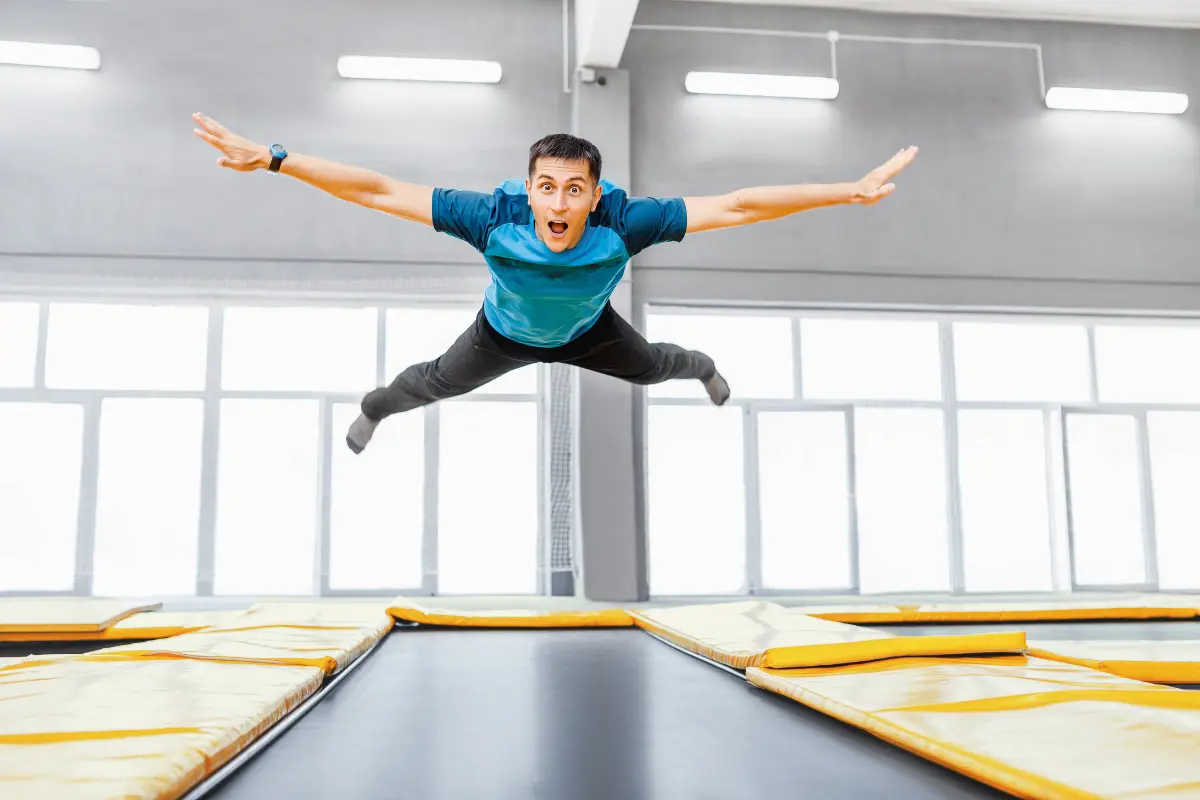
How to Spot a Backflip on a Trampoline
Learning to backflip on a trampoline is a thrilling experience, but it can also be daunting. Having a trusted spotter nearby can make all the difference, turning apprehension into confidence.
Here’s a breakdown of how to safely spot someone performing a backflip, as demonstrated in the video tutorial:
1. Establish a Bounce Rhythm
Before attempting the backflip, it’s important to sync up with the athlete’s bounce. The spotter initiates the first few bounces by lightly pressing into the trampoline.
This gradual buildup helps the athlete and the spotter get into rhythm. In the initial bounces, the feet should stay on the trampoline as you work together to create a consistent rhythm.
- Tip: The spotter should be pushing gently into the trampoline, not attempting to bounce the athlete too forcefully, which can throw off the timing.
2. Positioning for Safety
Positioning the athlete correctly is key for preventing accidents. Make sure they are facing away from any hard surfaces, such as walls, and toward a soft landing area like a padded mat. This way, if they over-rotate, they will fall safely onto the mat rather than a hard surface.
3. Arm Placement
The spotter uses two key hand placements:
- Dominant Hand (“Checking Your Watch”): The dominant hand should grip between the flipper’s elbow and shoulder, thumb down, as if “checking your watch.” This hand is responsible for controlling their upper body and preventing them from leaning forward.
- Supporting Hand: The opposite hand should be placed flat under the athlete’s lower back, providing lift as they rotate backward. This hand helps them gain height and initiate the rotation.
4. Initiating the Flip
Once you’ve built up a good bounce rhythm and your hands are positioned properly, begin the backflip on the count of three. As the athlete jumps, use your supporting hand to lift under their lower back while your dominant hand pulls slightly on their upper arm.
This combined movement ensures that the athlete completes the necessary rotation to safely land the backflip.
- Tip: Make sure you stay close to the athlete throughout the flip. Your arms should be bent, allowing you to use your body’s strength to support their motion.
5. Guiding the Rotation
As the athlete rotates, maintain your grip on their arm and back to guide their movement. As they near the end of the rotation, you can grab onto their shirt for additional control and to prevent them from drifting out of your reach.
6. Final Adjustments
Once the athlete completes the flip, ensure they land safely by keeping control of their motion and staying engaged with the bounce. By staying close, with your arms bent, you can help them maintain balance as they land.
Key Takeaways:
- Positioning: Stay close to the athlete, with one hand on their lower back and the other on their upper arm.
- Rhythm: Sync up with the athlete’s bounce before initiating the flip.
- Control: Use a firm but controlled grip to guide the athlete through both height and rotation.
- Safety: Always ensure the athlete faces a soft landing area, and adjust your position to stay engaged throughout the movement.
Lastly, good communication between the spotter and the person flipping is vital. Verbal cues or light touches during the motion can provide reassurance and help the person flipping feel supported.
Whether the practice is indoors or outside, maintaining clear signals and close attention is the best way to ensure safety.