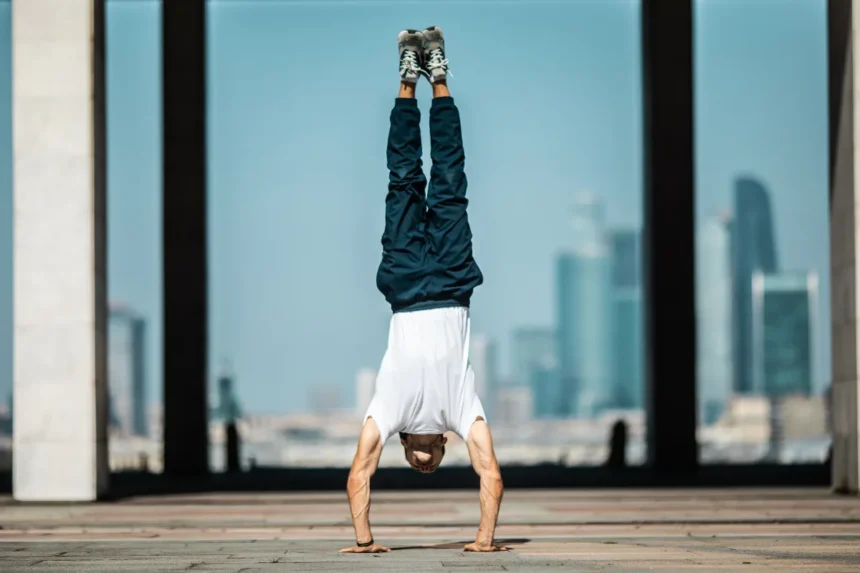
If you’ve ever dreamed of standing upside down, balancing on your hands with grace and control, chances are your journey began—or will begin—with the kick-up to handstand. This is the classic handstand entry used by gymnasts, calisthenics athletes, acrobats, and fitness enthusiasts alike.
What Is a Kick-Up to Handstand?
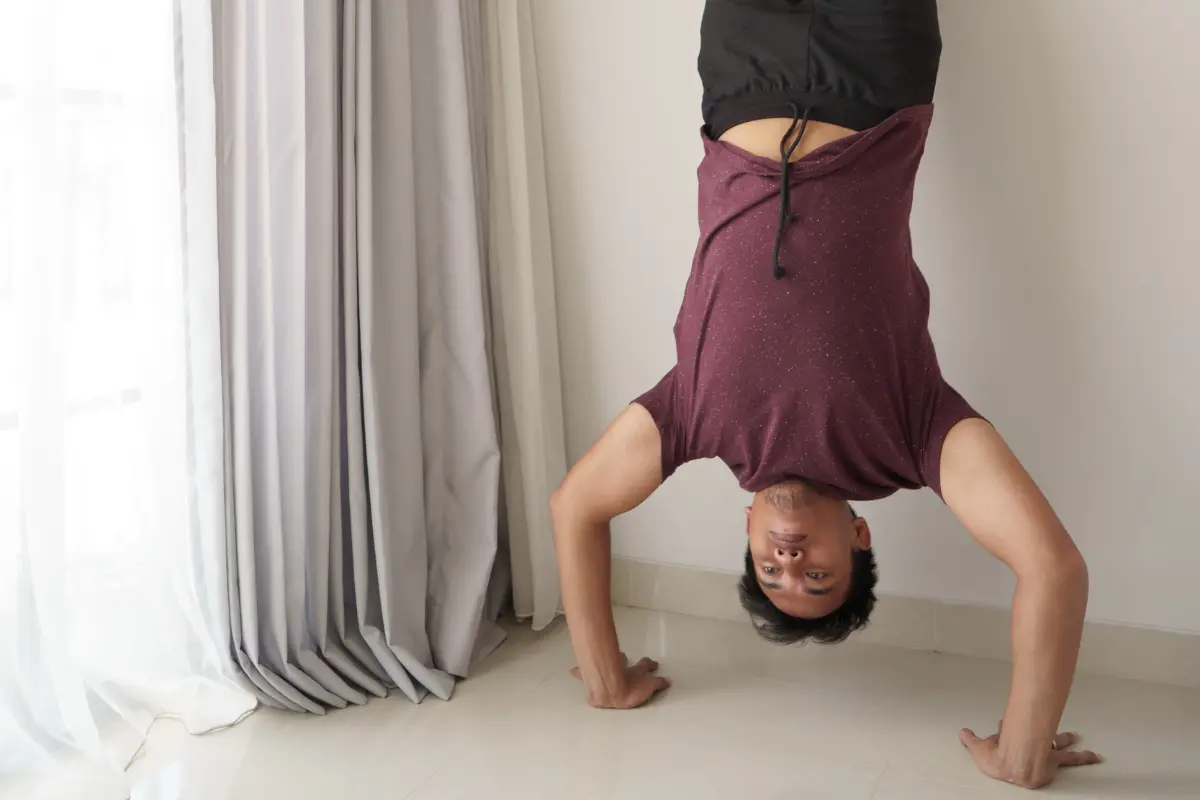
A kick-up to handstand is the act of moving from a standing position to a vertical, inverted balance by kicking one leg into the air, followed by the other. The legs and hips generate the momentum, and the hands and core stabilize the position.
It’s the most accessible way to enter a handstand because:
- It doesn’t need much space. The kick-up is easy to practice anywhere—just a clear floor and a little room. You don’t need special equipment or complex moves like jumps or presses.
- It teaches important timing. The moment you switch from swinging up to holding the handstand is the same timing you’ll use for harder entries later, like cartwheels or jump-ins.
- It feels safer. Since one leg stays closer to the ground, beginners feel more in control. And if you lose balance, stepping out without falling hard is easy.
Step-by-Step Guide to a Successful Kick-Up
1. Set Up in a Lunge
Begin with a long, stable lunge. Place your hands on the floor, shoulder-width apart, with one leg forward and the other extended back behind you. This starting stance creates both momentum and control—your back leg will become the driver for the kick, while your front leg helps guide the motion upward.
2. Fire Up Your Core and Shoulders
Before you move, engage your core muscles and press actively through your shoulders. Think of this as locking in your foundation. A tight core keeps your hips from swinging wildly, and strong shoulders will support your body as it inverts.
3. Kick with Control
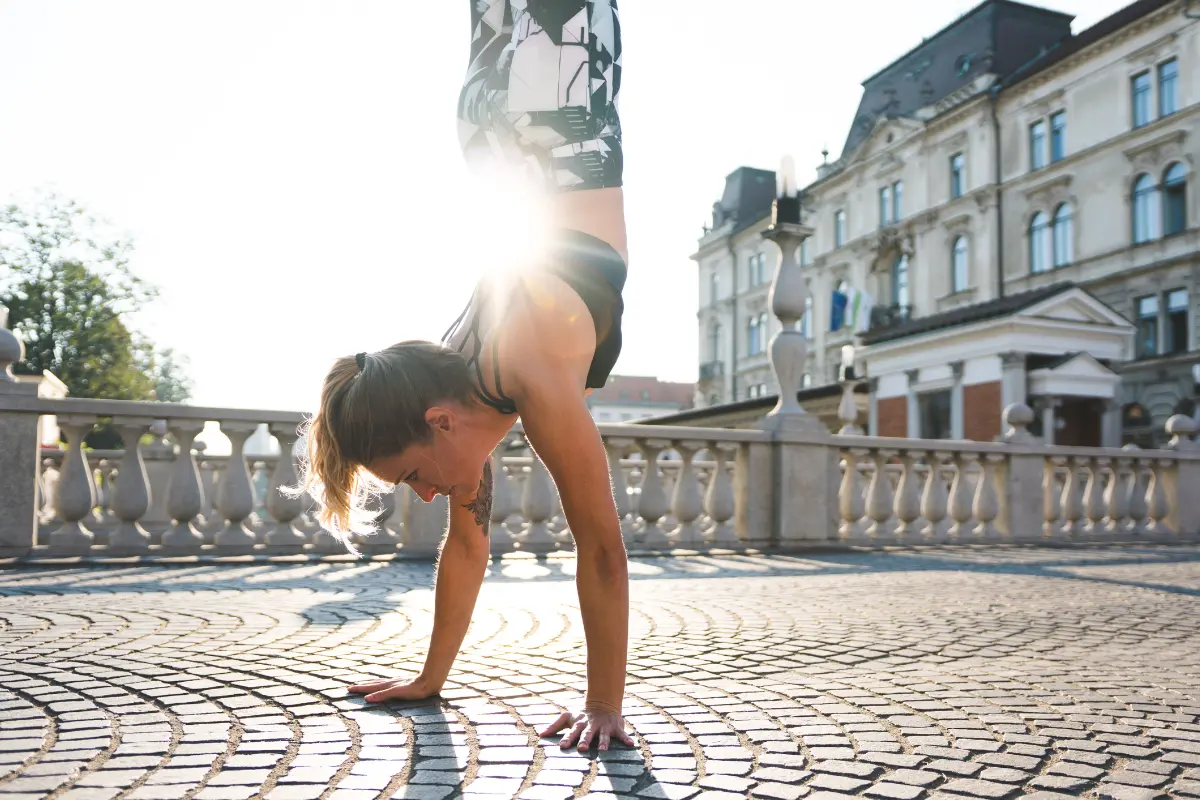
Now swing your back leg up toward the ceiling, letting your front leg follow naturally. The goal isn’t to throw your legs up with brute force—it’s to lift your hips smoothly over your shoulders. Your body should stack in one clean line from wrists to toes.
4. Catch Your Balance at the Top
As your legs reach vertical, press your fingertips into the floor to fine-tune your position. This is where balance really happens—not in the legs, but in the hands and shoulders. Don’t rely on momentum to hold you; instead, aim for a slow, deliberate lift that lets you “float” into place.
5. Lock In and Polish
Once you’re in the handstand, squeeze your legs together and point your toes. Your body should feel long and tight, like a single unit. Make subtle micro-adjustments with your wrists and fingers to stay balanced. Breathe. Hold. Refine.
Why Your Kick-Up Might Be Failing
Let’s start by looking at what most people do: the gymnastics-style kick-up. It starts from standing, takes a big step forward, and drives both legs overhead quickly. That’s perfect… if you’re trying to cartwheel, tumble, or move through a handstand quickly.
But if your goal is to hold a handstand? That approach makes it a lot harder. Here’s why:
- It relies heavily on momentum, which you then have to stop and control at just the right angle.
- Your fingers, which are your brakes and steering system, usually aren’t strong enough yet to manage all that force.
- The movement is so fast that even slight imbalance throws everything off.
That’s where a better, beginner-friendly technique comes in.
Fix #1: Start With Your Hands on the Floor
Instead of placing your hands mid-kick-up, get into position before launching your legs. Here’s what this does:
- Consistency: With hands already planted, your setup is stable. No uneven spacing. No guessing.
- Better Awareness: You’ll feel more connected to the ground, allowing you to focus on driving the right leg up cleanly.
- Control over Chaos: Because you’re not stepping and swinging in one motion, the risk of “overkicking” is lower.
Yes, this method is physically harder. You’ll need a stronger push from your back leg to get yourself inverted. But it trains the right kind of strength and awareness you’ll need for long-term handstand control.
Fix #2: Use a Split-Leg Kick-Up
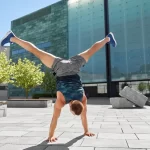
This is a game-changer for beginners. Instead of trying to bring both legs up together and “hope for the best,” try a split-leg entry:
- One leg kicks up first, and the second follows after you’ve found your balance point.
- This spreads out your body mass, giving you a lower center of gravity and better side-to-side control—kind of like a balancing pole for tightrope walkers.
- Once you’re up and steady, bring your legs together slowly, aiming to meet in the middle.
But there’s a catch: how you bring the legs together matters. If one leg chases the other (instead of both coming to meet at the center), you’ll throw yourself off balance, either falling forward or dropping back down. So take it slow and symmetrical.
Practice Tip: Hold the Split First
Try to pause in the split-leg position for 3–5 seconds. Focus on:
- Feeling balanced through your hands and fingers
- Keeping your shoulders stacked above your wrists
- Using micro-adjustments to stay controlled
Then, and only then, bring the legs together.
Why This Approach Works Better
Let’s compare the two methods:
| Gymnastics-Style Kick-Up | Hands-on-Floor + Split-Leg Kick-Up | |
|---|---|---|
| Speed | Fast, momentum-driven | Slower, more deliberate |
| Control | Requires finger strength | Built-in balance from the start |
| Beginner-Friendly | ❌ Tricky to stop and hold | ✅ Easier to adjust and correct |
| Best For | Gymnasts, transitions | Beginners learning freestanding |
This isn’t about one being “wrong.” If you’re a gymnast doing tumbling passes, the traditional method makes sense. But if your goal is a static freestanding handstand—for training, for Instagram, or for fun—this modified approach gives you more control, more confidence, and faster results.
Final Thoughts
Kicking up is more than just swinging your leg. It’s the entry point to a skill that requires balance, timing, and body control. These two changes remove much of the chaos and replace it with structure.
If you’ve been struggling to break free from the wall, give these tweaks a try.
