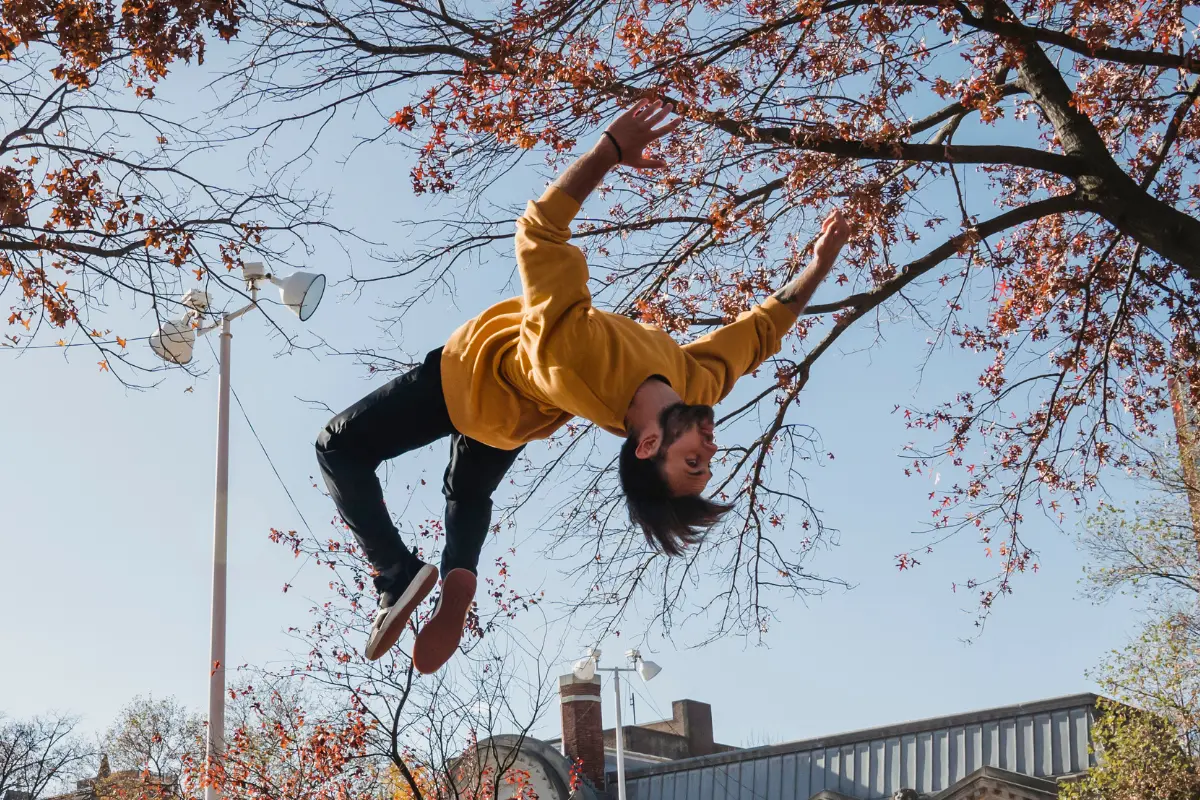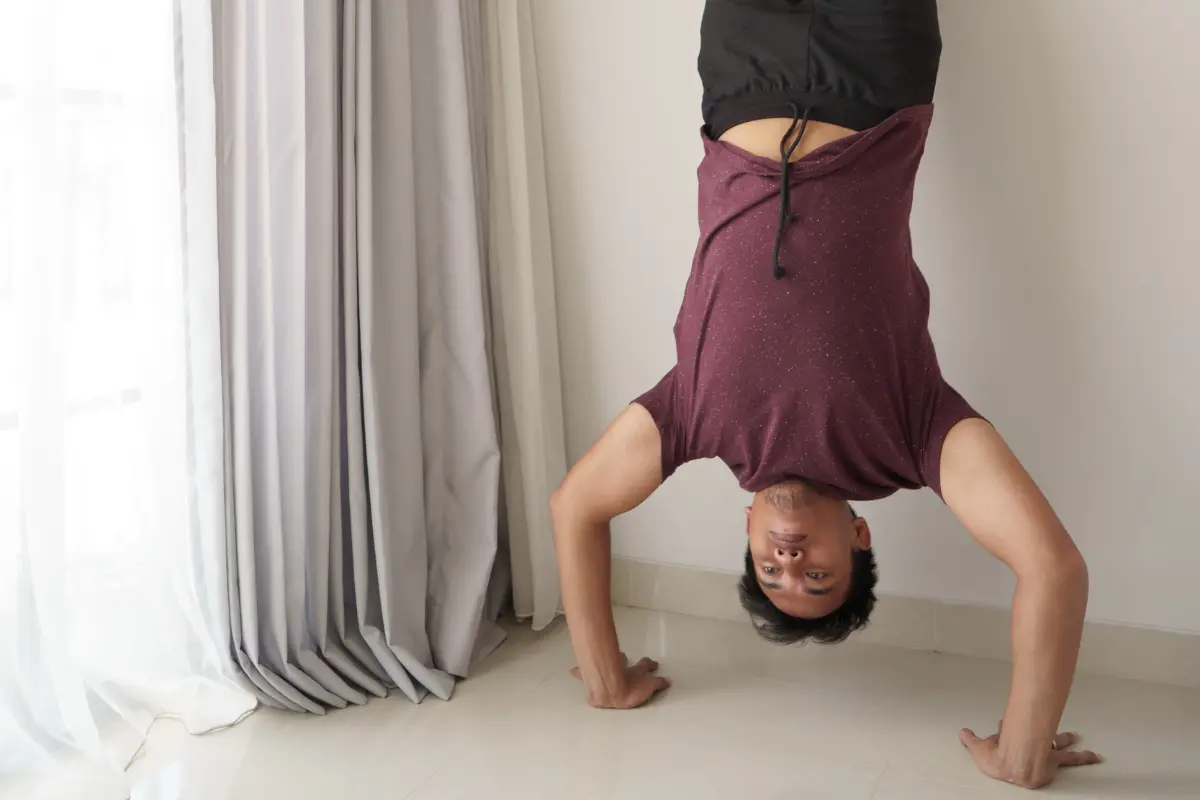
Today, we’re tackling the art of the handstand with super simple hacks. Whether you’re a beginner or just looking to refine your skills, these tricks will help you achieve that flawless handstand much quicker.
1. The Wall Walk
First and foremost, it’s important to recognize that, unlike feet, your hands don’t have heels, which is why it’s so easy to lose balance and fall when attempting a handstand. To overcome this, try the ‘wall walk’ technique.
Start by placing your feet against the wall and walk them up until you are about half a foot away from the wall. Then, use your feet to push away from the wall, holding yourself in a handstand position.
As you fall back towards the wall, it will catch you, preventing any falls. This technique allows you to maintain the handstand position longer, thereby building your strength and balance. If you start falling forward, break your fall by moving to the side.
2. The Boot Loop
The next technique is both ingenious and effective. It’s called the ‘boot loop.’ Start by securing a resistance band around a sturdy anchor point on the ceiling. Place your foot through the loop, turn your back to it, and then kick up into a handstand.
The resistance band makes it easier to maintain the handstand by providing some support. It’s recommended to gradually reduce your reliance on the band as your body learns to balance on its own. Before you know it, you’ll be able to hold a handstand effortlessly.
3. The Wall Stall
A straightforward and effective exercise to try is the ‘wall stall’. Begin by placing your hands about six inches away from the wall. Then, kick up into a handstand, allowing your legs to gently touch the wall behind you.
Once in position, push lightly off the wall using your fingers as if they were your feet, to help you stabilize.
Initially, you might find yourself pushing too hard and coming back down to your feet. That’s okay! With practice, aim to find a balance between leaning forward and pushing back with your fingers. Mastering this subtle control is key to performing a steady handstand.
Two-Wall Stall
While we’re in this setup, if you have enough flexibility and the right space between walls, try the ‘two-wall stall’.
This technique helps prevent you from falling forward or backward. Use your toes to grip between the two walls, and when you feel steady, attempt to hold the handstand.
This method not only helps in maintaining the handstand but also enhances your core stability, which is crucial for mastering the handstand.
4. The Elevated Elbow
An excellent starting point for building core stability and balance is the simple elbow stand. This variation lays a good foundation for progressing to traditional handstands. To enhance this practice, try the one elbow, one handstand, though be aware it’s a bit more challenging due to its asymmetry.
Moving on, another useful technique involves using a stair for support. Place your forearm on the stair; this elevation provides the necessary clearance, making your modified elbow stand feel more natural.
By focusing on one side at a time, you can develop greater core stability, and eventually, you’ll seamlessly transition into a full handstand. Using your forearm for support not only increases stability but also extends the duration you can practice in an inverted position.
Another effective exercise to enhance core stability is the simple headstand. It’s crucial not to let your legs hang over your back; instead, keep them in front of you and use your arms and head to maintain balance.
5. Hair on the Stair
Next, we have the ‘hair on the stair’ technique. Be cautious; place something soft for protection. This method involves extending your arms more than in a typical headstand, simulating the arm position of a handstand while still relying on head balance. This serves as an intermediate step between a headstand and a handstand.
Don’t overlook the trusty mattress for practicing these moves. You can perform the same exercise you did on the stairs, but on a mattress. Be careful not to bounce to avoid neck strain. If you fall forward, the mattress provides a soft landing, minimizing the risk of injury.
From this position, you can practice a normal handstand right at the mattress’s edge. Overexaggerate the use of your fingers to push back, enhancing your finger strength, which is vital for maintaining balance in a handstand.
The Advanced Techniques
Next, let’s discuss some advanced hacking techniques:
Diagonal Balance
When you’re trying to keep your balance, it’s easy to tip forward or backward. A great way to avoid this is by using a diagonal balance technique.
Here’s what you do:
Stretch one hand up to an upper corner and place the other hand down toward a lower corner on the ground. This creates a diagonal line across your body, which really helps you stay stable.
Make sure to practice this on both sides. This tricks your brain into adjusting, and helps your body naturally find its balance. As you keep at it, not only does your balance get better right away, but you also get better at more complex moves, gaining confidence and precision.
Side Squeeze
Alternatively, the “Side Squeeze,” though not recommended without proper safety measures.
Set up two chairs about shoulder-width apart. Then, place your arms down and use the chairs to squeeze your arms together as you push up. This gives you more stability in your arms.
However, there’s a downside: if you start to fall sideways, you could fall awkwardly on the chair, which might send you tumbling backwards or forwards. So, this is more of a technique for art projects, not practical use.
Final Thoughts
Keep practicing to improve your core stability, strengthen your fingers, and find that perfect balance point. These are key to mastering a handstand. With consistent effort and dedicated practice, you can achieve a stable and controlled handstand, which is a thrilling way to see the world from a different perspective.