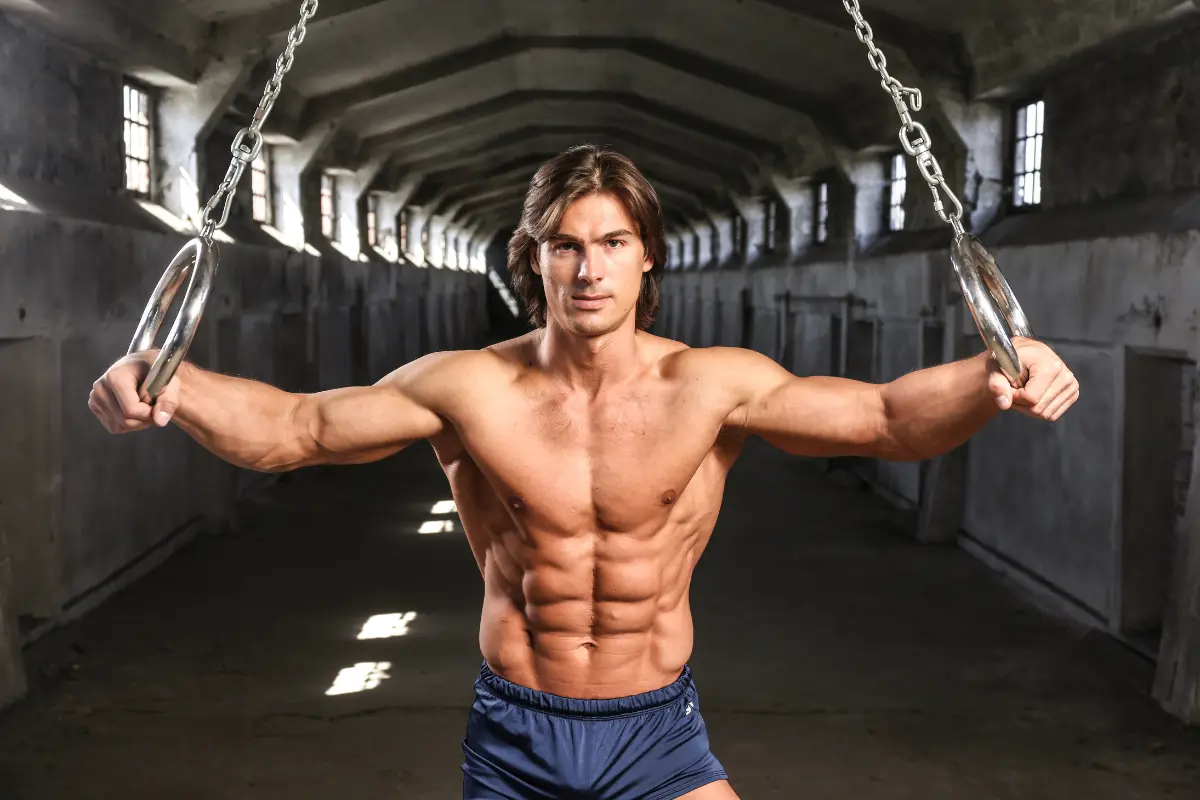

Calisthenics is a fantastic way to build strength, flexibility, and endurance using just your body weight. If you’re new to calisthenics and unsure where to start, incorporating gymnastic rings into your training is one of the best ways to begin. Rings are versatile, affordable, and can be used virtually anywhere, making them a powerful tool for mastering bodyweight exercises.
Next, we’ll break down everything you need to know to get started.
Why Train with Rings?
Training with rings has several advantages, making them an ideal choice for beginners:
- Affordable & Long-Lasting – A one-time purchase allows for a lifetime of training.
- Train Anywhere – Hang them on a tree, pull-up bar, or even inside your home.
- Progressive Training – Rings allow for endless variations, making exercises easier or harder as needed.
- Full-Body Engagement – Because of their instability, rings engage stabilizer muscles, increasing overall strength and coordination.
With these benefits in mind, let’s start with the fundamentals.
Step 1: Mastering the Basics
Before jumping into advanced moves, it’s essential to lay a strong foundation with basic bodyweight exercises. These exercises help build the muscle strength and control required for more complex movements while minimizing the risk of injury.
The primary calisthenics basics you’ll want to focus on with rings are:
- Push-ups
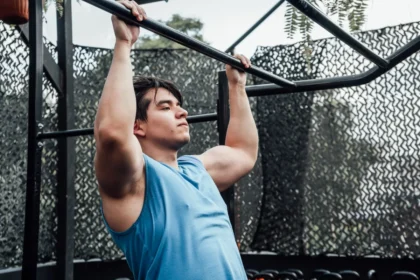
- Pull-ups
- Rows
- Dips
How to Start:
- Push-ups: Begin with inclined push-ups using higher ring placements. As you get stronger, gradually lower the rings or try decline push-ups by bringing your feet into the rings.
- Rows: Start with high ring rows, keeping your body at a comfortable angle. As you improve, move to lower rings to make the exercise more challenging.
- Pull-ups: Begin with negative pull-ups by jumping to the top of the movement and lowering yourself slowly. Once you’ve built sufficient strength, work up to regular pull-ups.
- Dips: Start with assisted dips by keeping your feet on the floor to support your body. Once you feel more confident, try regular dips on the rings.
For more targeted muscle-building, consider incorporating isolated exercises like:
- Ring flies (to work your chest and rear delts)
- Ring bodyweight bicep curls
- Triceps extensions on rings
The goal is to build up to:
- 20 push-ups
- 20 rows
- 10 pull-ups
- 10 dips
Once you’ve mastered these basics, you’re ready to move on.
Step 2: Strengthen Your Core
A strong core is crucial for almost all calisthenics movements, from push-ups to advanced static holds like the back lever. Not only does it help maintain proper posture and form during exercises, but it also acts as a bridge between your upper and lower body.
Core Exercises for Rings:
- Leg Raises: Start with knee raises and progress to full leg raises as you gain strength. Once you’re comfortable, try moving to the toes-to-bar.
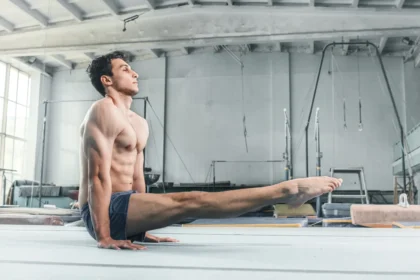
- L-sit Holds: Begin with a tucked L-sit, bringing your knees towards your chest. As you get stronger, extend one leg at a time and eventually try the full L-sit.
Target goals:
- 5 repetitions of toes-to-bar
- 10 seconds holding the L-sit
Step 3: Skill Progression
Once you’ve established a solid foundation in basic exercises and core strength, it’s time to delve into advanced calisthenics skills using the rings. These skills not only showcase your strength and control but also enhance your overall athleticism. We’ll focus on three primary skills: the muscle-up, back lever, and front lever.
1. Muscle-Up
The muscle-up is a powerful, full-body movement that combines a pull-up and a dip, propelling your body from below the rings to above them. It’s an essential calisthenics skill that requires both pulling and pushing strength, along with explosive power.
Progression Steps:
False Grip Training: The false grip is vital for the smooth transition from the pull-up phase to the dip phase of the muscle-up.
- Exercise: Start by hanging from the rings with your wrists over the top, palms facing down, and thumbs wrapped around the rings. This grip allows you to pull your chest toward the rings efficiently and transition seamlessly.
Pull-Ups with False Grip: Strengthen your pulling muscles while maintaining the false grip.
- Exercise: Perform pull-ups while holding the false grip. Aim to pull your chest to the rings and focus on keeping the grip engaged throughout the movement.
Transition Practice: Mastering the transition between the pull-up and dip is key to a successful muscle-up.
- Exercise: From a pull-up position, practice pulling your chest over the rings and then pushing into a dip. This movement should be fluid and controlled, with the rings staying close to your body.
Full Muscle-Up: Now combine all the elements into one fluid motion. This requires both strength and explosiveness.
- Exercise: From a dead hang, explosively pull yourself up, transition smoothly over the rings, and push yourself into the dip position. Lower yourself with control back into the hang.
2. Back Lever
The back lever is a static hold where your body remains horizontal, facing down, supported by the rings. This skill demands strong shoulders, core stability, and control over your body position.
Progression Steps:
Skin the Cat: This exercise helps build shoulder mobility and strength, which is crucial for the back lever.
- Exercise: Hang from the rings, pull your knees toward your chest, and rotate your body backward, extending your legs through your arms. Return to the starting position and repeat. This movement warms up the shoulders and builds the flexibility needed for the back lever.
Tucked Back Lever: Start with the basic static hold, keeping your knees tucked to your chest.
- Exercise: From a hanging position, pull your knees to your chest, then lean back, extending your body until you are in a horizontal position. Keep your back straight and engage your core.
Advanced Tucked Back Lever: Once you’re comfortable with the tucked position, progress by slowly extending your back while keeping your knees tucked.
- Exercise: From the tucked back lever, gradually extend your legs and back, aiming for a straighter, more controlled position while maintaining horizontal alignment.
Straddle Back Lever: Spread your legs into a straddle position to increase the difficulty and shift the center of mass.
- Exercise: Transition from the advanced tuck position into a straddle back lever, keeping your legs wide and your body in a horizontal line. This reduces the load on your core, making the move more manageable.
Full Back Lever: Finally, bring your legs together and hold the full back lever.
- Exercise: From the straddle position, gradually bring your legs together, maintaining a strong core, and hold your body in a straight, horizontal position. This is the pinnacle of the back lever progression.
3. Front Lever
The front lever is another static hold, but this time, your body faces up. It requires immense core strength and the ability to control your body position while maintaining a horizontal hold.
Progression Steps:
Tucked Front Lever: Start with a tucked position to build strength and stability.
- Exercise: Hang from the rings, pull your knees to your chest, and lean back until your body is horizontal, facing up. This is the starting point for developing a strong front lever.
Advanced Tucked Front Lever: Progress by slowly extending your back while keeping your knees tucked. This variation makes the movement more challenging.
- Exercise: From the tucked position, extend your back and straighten your legs slightly, focusing on maintaining a strong, stable core while keeping your body horizontal.
Straddle Front Lever: Open your legs into a straddle position to further challenge your control and strength.
- Exercise: From the advanced tuck position, slowly move into a straddle position while keeping your body horizontal. The straddle position distributes the weight and makes it easier to hold.
Full Front Lever: Achieve the complete front lever by bringing your legs together.
- Exercise: From the straddle position, gradually bring your legs together, ensuring your body stays in a straight line. Hold this position as long as possible with proper form.
Your 12-Week Training Program
A structured program ensures steady progress. Here’s how to train effectively over 12 weeks.
Weeks 1-6: Building Strength & Core Stability
Focus on mastering basic movements and developing core strength. Implement an upper/lower body split routine:
- Day 1: Upper Body
- Exercises: Ring Push-Ups, Ring Pull-Ups, Ring Dips, Ring Rows.
- Day 2: Core & Legs
- Exercises: Ring Leg Raises, L-Sit Holds, Bodyweight Squats, Lunges.
- Day 3: Upper Body
- Exercises: Repeat Day 1; consider adding isolation exercises like Ring Bicep Curls or Tricep Extensions.
- Day 4: Core & Legs
- Exercises: Repeat Day 2.
- Day 5: Upper Body
- Exercises: Repeat Day 1.
- Weekend:
- Activities: Rest, engage in flexibility work, or perform light cardio.
Weeks 7-12: Introducing Skill Training
With a solid strength foundation, begin incorporating skill training while maintaining your strength workouts. Separate skill practice from strength sessions:
- Day 1: Skills & Core
- Exercises: Muscle-Up Progressions, Front Lever Progressions, Back Lever Progressions, Core Exercises.
- Day 2: Strength Basics
- Exercises: Ring Pull-Ups, Ring Dips, Ring Push-Ups, Ring Rows.
- Day 3: Legs & Cardio
- Exercises: Squats, Lunges, Sprinting or Jump Rope.
- Day 4: Skills & Core
- Exercises: Continue skill practice and core strengthening.
- Day 5: Strength Basics
- Exercises: Repeat Day 2.
- Day 6:
- Activities: Light cardio or rest.
- Day 7:
- Activities: Full rest.
Following this program will help you develop strength, control, and the ability to progress into more advanced skills over time.