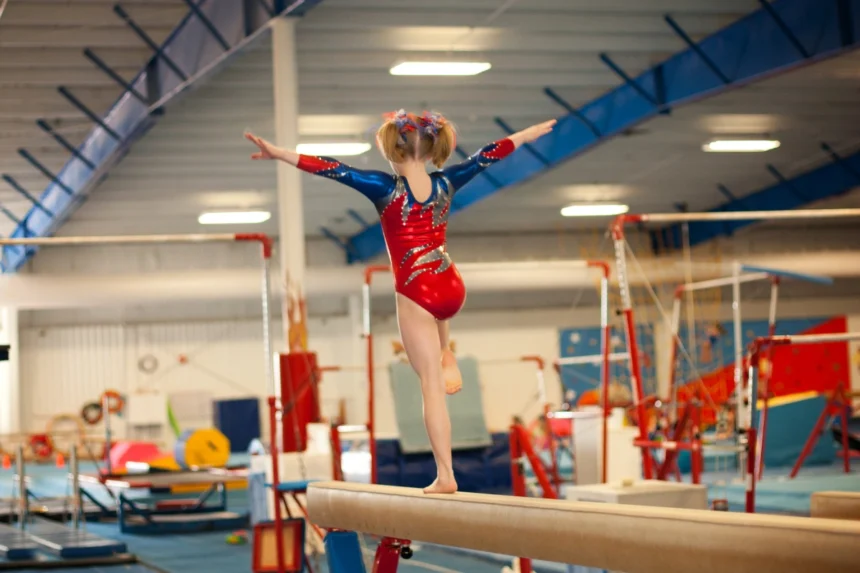
If you’ve been working on mastering the balance beam, adding a back walkover back handspring to your routine is an exciting challenge. This combination of skills requires a mix of flexibility, strength, and body control. While it might sound complicated, with practice and the right technique, you can make it look smooth and effortless.
- Prerequisites for a Back Walkover Back Handspring on Beam
- Step-by-Step Guide to Performing a Back Walkover Back Handspring on Beam
- Do You Need a Back Walkover for a Back Handspring?
- Why a Back Handspring is Harder Than a Back Walkover
- From Back Walkover to Back Handspring: Tips for a Seamless Transition
Prerequisites for a Back Walkover Back Handspring on Beam
Before attempting the back walkover back handspring on the beam, it’s essential to master the following skills:
- Back Walkover on Floor: Ensure you can perform a back walkover confidently on the floor with solid technique, as this will lay the foundation for performing it on the beam.
- Back Handspring on Floor: Similarly, having a strong back handspring on the floor is essential before attempting it on the beam.
- Balance Beam Basics: Familiarize yourself with the fundamentals of balance beam skills such as mounting, dismounting, and basic poses. You should also be comfortable with beam routines and confident in your balance on the narrow surface.
- Flexibility: Strong back flexibility and shoulder mobility are crucial for achieving the necessary range of motion during the back walkover.
Step-by-Step Guide to Performing a Back Walkover Back Handspring on Beam
1. Get Comfortable with the Basics First
Before jumping into the combination, it’s important to be comfortable with both the back walkover and the back handspring—on the floor first. If you can already do both skills with good form on the floor, transitioning to the beam will be a lot easier.
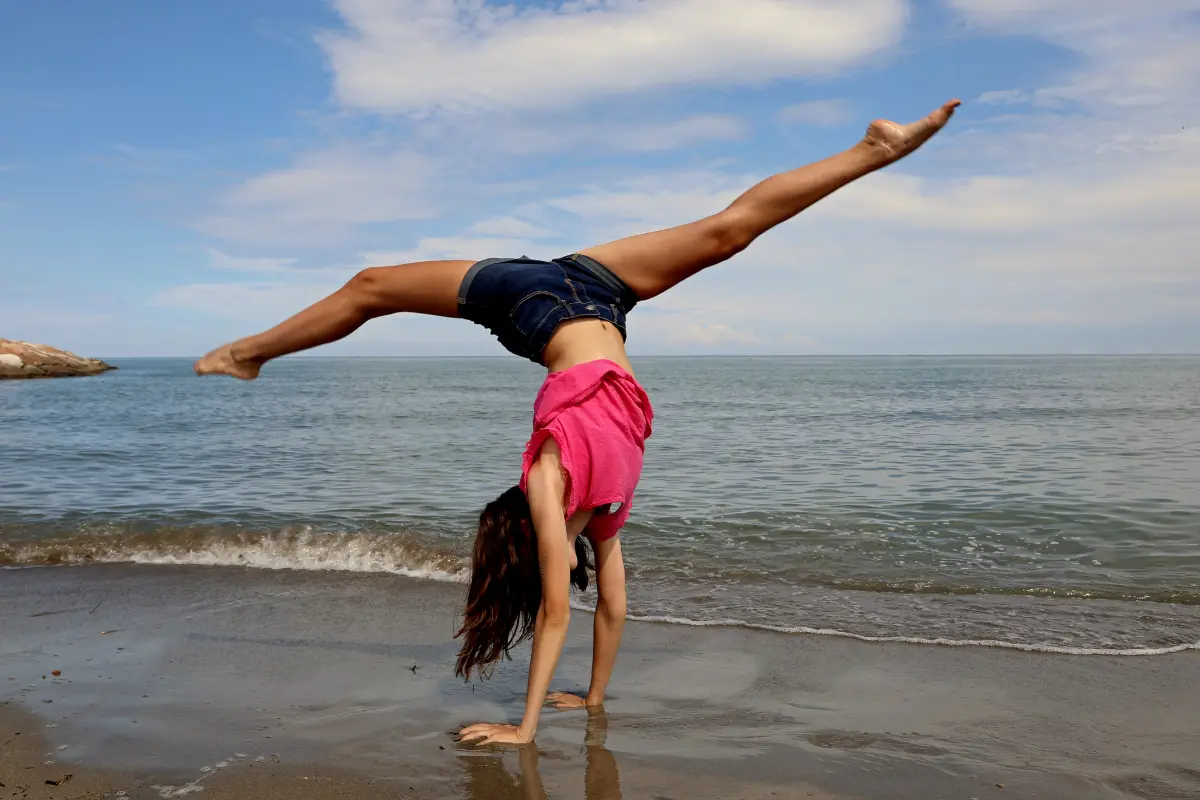
- Back Walkover: This move starts with a standing position, then you arch your back and bring one leg over your head, followed by the other. It’s all about flexibility, especially in the back and shoulders.
- Back Handspring: In this move, you push off the floor with your hands to flip your body backward and land back on your feet. You’ll need strong arms and legs to get the height and speed right.
2. Set Up the Beam Properly
Before you start practicing, make sure the beam is safe and secure. Practice on a low beam at first, especially when you’re still getting the feel for the movement. Make sure it’s at the correct height (usually around 4 feet) and non-slip to avoid accidents. And, of course, always warm up your muscles before trying any new skills.
3. Starting with the Back Walkover
The first part of this combo is the back walkover, which involves bending your back and moving one leg over your head to touch the beam. Here’s how you do it:
- Start Position: Stand tall with your feet together, arms up overhead. Keep your body tall and your shoulders relaxed.
- First Move: Lift one leg into the air and bend it backward as you arch your back. Your other leg should move back toward the beam. Keep everything controlled.
- Placing Your Hands: As you continue arching backward, place your hands on the beam one at a time. Your arms should be straight and shoulder-width apart, with your fingers spread out for better balance.
- Getting the Feet Over: Now, as you continue your arch, push through your hands to help your body flip and bring your feet over the beam. Your legs should stay straight as they move over your head.
- Finish the Walkover: Once your feet land back on the beam, bring your body upright and prepare for the back handspring. Keep your feet together and stay in a straight line.
4. Transitioning to the Back Handspring
Once you’ve completed the back walkover, you’ll want to transition smoothly into the back handspring. This is the tricky part because you need to use your core and legs to switch from one move to the next.
- Body Position: After your feet touch the beam, quickly snap your legs together and prepare to push off with your arms. Keep your chest lifted so you don’t fall forward.
- Arm Movement: Swing your arms back as you bend your knees to generate power for the back handspring.
5. Executing the Back Handspring
Now it’s time to do the back handspring! Here’s how:
- Push Off: Drive up through your legs and use your arms to push yourself backward. As you jump, keep your eyes on the beam to stay oriented.
- Hand Placement: When your hands hit the beam, they should be directly beneath your shoulders, fingers spread wide for stability.
- Body Alignment: Keep your body straight from your hands to your feet as you flip backward. Your core should stay tight, and your body should be aligned.
- Landing: Push through your legs as you finish the back handspring and land on both feet. Make sure you stick the landing with control, keeping your body tall.
Do You Need a Back Walkover for a Back Handspring?
The short answer is no—you don’t strictly need to learn a back walkover to perform a back handspring.
A back handspring is a more advanced skill than a back walkover and can be performed independently, without the need for a back walkover first.
However, many coaches often incorporate the back walkover because it builds comfort with backward motion, improves flexibility, and helps gymnasts gain the confidence to execute a back handspring. So while it’s not strictly necessary, the back walkover can serve as a great progression toward mastering the back handspring.
Why a Back Handspring is Harder Than a Back Walkover
In general, a back handspring is considered harder than a back walkover. Here’s a breakdown of why:
Back Walkover:
- A controlled, slow move that focuses on flexibility, especially in the back and shoulders. It helps gymnasts get used to moving their body backward and transitioning into an inverted position without the speed and power needed for a back handspring.
Back Handspring:
- A back handspring is an explosive skill requiring more power, speed, and precise timing. Unlike the back walkover, where you can adjust as you go, the back handspring demands perfect execution. Once you start, you’re committed, so there’s no time to fix mistakes mid-skill.
That said, some gymnasts might find the back walkover harder if they’re struggling with flexibility or have a fear of going backward. But for most, the back handspring is more challenging because it demands more physical strength, speed, and precision.
From Back Walkover to Back Handspring: Tips for a Seamless Transition
Here are some useful tips to help you connect these two skills effectively:
1. Maintain Strong Core Engagement
The key to a seamless transition is core strength. As you complete the back walkover, ensure that your core stays engaged and active. A strong core will also help you generate the power needed to push into the back handspring.
Tip: Practice core exercises like planks, leg raises, and hollow holds to improve strength and stability during your back walkover.
2. Push Through the Hands Immediately After the Walkover
The moment your hands hit the beam in the back walkover, focus on pushing through your palms. This push is essential for propelling your body upward and backward into the back handspring.
Tip: Practice a “pressing” motion with your hands as soon as you make contact with the beam, pushing your chest away from the beam and setting your body up for the back handspring.
3. Use the Momentum from the Walkover
A smooth transition relies on using the momentum generated from the back walkover. As you kick your leg over, you create an arc in your body, which can be used to fuel the back handspring.
Tip: Think of the back walkover as an “entry” into the handspring, rather than a complete skill in itself. Stay fluid, and don’t break the flow between the two moves.
4. Focus on the Leg Push
As you exit the back walkover, it’s important to use the leg closest to the beam to generate the push needed for the back handspring. This leg will act as a springboard, giving you the lift to perform the back handspring.
Tip: In your training, perform back walkovers with an emphasis on snapping the legs down quickly and forcefully, preparing for the explosive movement of the back handspring.
5. Quickly Snap the Legs Together
As you transition from the back walkover to the back handspring, it’s crucial to quickly snap your legs together in the air. This motion will help you gain the necessary speed to complete the back handspring.
Tip: In your training, practice drills that focus on quickly snapping your legs together after the back walkover to build muscle memory for this crucial motion.
6. Timing the Head and Neck Position
As you enter the back walkover, make sure your head stays in alignment with your spine, and avoid tucking it too soon. As you prepare to push into the back handspring, quickly tilt your head slightly backward, allowing you to generate the necessary momentum for the flip.
Tip: Visualize the movement by watching videos of gymnasts performing back walkovers and back handsprings, paying close attention to their head and neck positions.
7. Body Alignment and Leg Extension
When performing the back handspring, your body needs to be straight and aligned from your hands to your feet. A common mistake is allowing the body to arch too much or bend at the waist during the handspring. This can throw off your momentum and lead to an unstable landing.
Tip: Practice your back handspring on the floor before transferring it to the beam. Focus on keeping your body aligned and your legs fully extended during the skill.
8. Practice with Spotting or Support
When you first practice this combination on the balance beam, it’s beneficial to have a coach spot the skill, particularly during the transition phase.
Tip: Start by practicing the back walkover back handspring on a lower beam or mat, gradually moving to a higher beam as you gain confidence.
Mastering the transition from back walkover to back handspring on the beam requires a blend of technique, timing, and strength. With consistent practice and the right mindset, you’ll be able to connect these two elements seamlessly, adding a powerful combination to your beam routine.
