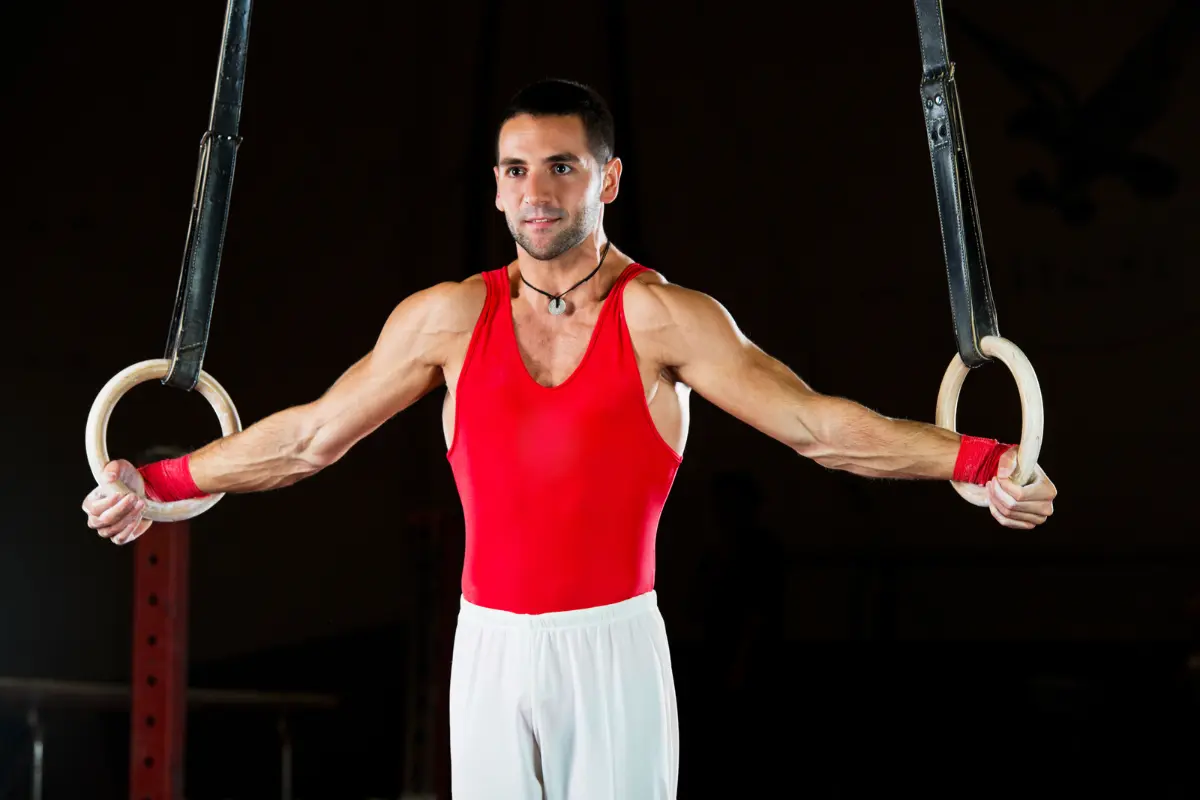
The Iron Cross—just hearing the name probably makes your shoulders ache a little. It’s one of the most iconic and demanding skills on the gymnastics rings. If you’ve ever seen someone perform it, arms stretched straight out like a crucifix, body locked in perfect stillness, you know it’s the ultimate test of strength, control, and patience.
If you’re dreaming about learning the Iron Cross yourself, this guide will walk you through where to start, how to build the right strength, and the progressions to make it happen—without wrecking your shoulders and elbows along the way.
Build Your Basic Strength on the Rings
Let’s be real—the Iron Cross is not a beginner move. Trying to train it too early is a fast track to injury. Before even thinking about Cross-specific training, you need a strong foundation in upper-body pulling and pressing strength.
Prerequisites:
- Pull-ups, chin-ups, and dips: Aim for 5+ clean reps, weighted if possible.
- Ring strength: You must be comfortable doing exercises on the rings, not just bars.
- Ring support hold: Hold a stable support position on rings for at least 5 sets of 30 seconds. Bonus points if you can do this while swinging—it’s a better sign of true stability.
- Ring dips: At least 5 sets of 5 reps, arms fully locked out, rings turned out in support.
If you’re not quite there yet, focus on building these first. They’ll give you the strength, joint stability, and ring awareness that are essential for safely training the Iron Cross.
Develop a Solid Support Position
The Iron Cross requires you to maintain straight arms throughout the movement. This is one of the most crucial elements—your arms must be fully locked out, and any bending at the elbows will compromise the position. Hyperextension, if present, should be avoided; focus on complete arm lockout.
Scapular Positioning:
The position of your scapula (shoulder blades) plays a huge role in your Iron Cross. The key is maintaining depression and avoiding protraction of the shoulders.
- Depression: This means your shoulders should be pushed down and away from your ears, preventing your body from collapsing into a sagging position. This is critical for keeping stability and preventing injury.
- Scapular Retraction vs. Protraction: While retraction (pulling the shoulder blades together) can be more challenging, a slight protraction (pushing the shoulders forward) is often seen in the Iron Cross and is perfectly acceptable, especially if your back is stronger. A neutral scapular position, where there’s a balance between the anterior (front) and posterior (back) muscles, is ideal for many athletes.
Head and Neck Alignment: It’s important to keep your head neutral and avoid looking down, as this could lead to poor form. Keeping your neck in line with your spine will help maintain proper alignment throughout the movement.
Begin by working on your ring support position, aiming for:
- 5 sets of 30-second holds in a stable support position.
- As you improve, try adding some dynamic movement, such as swinging in the support position to further develop stability.
If you can hold this position for extended periods while keeping your arms straight and the rings turned outward, you’re on the right track.
Exercises to Build Up to the Iron Cross
Now that you understand the basics of the Iron Cross, let’s look at the key exercises that will help you progress toward it. These exercises focus on building the strength, stability, and coordination necessary for the Iron Cross.
1. Ring Support Hold
Start by building a solid foundation on the rings. A basic support hold with your arms fully locked out and scapula depressed is essential. Aim for:
- 5 sets of 30 seconds in a stable ring support position.
- If you can handle swinging support positions (the ability to maintain control while gently swinging on the rings), that’s even better.
Being comfortable in the support position is crucial for your transition to the Iron Cross. You should also be able to perform dips with a strong, stable foundation before progressing further.
2. Ring Dips
The Iron Cross requires strong pressing power, so mastering ring dips is a must. Practice performing weighted ring dips, aiming for 5 sets of 5 reps with good form. The deeper you go into the dip while maintaining control, the more it will help in building the strength needed for the Iron Cross.
3. Assisted Iron Cross Pulls
One of the most effective ways to train for the Iron Cross without jumping straight into the full movement is to perform assisted Iron Cross pulls. Here’s how:
- Start in a support position with your feet lightly touching the ground for assistance.
- Gradually lower your body while maintaining the depression of your scapula (shoulder blades).
- Find a position where your shoulders feel stable and your arms are straight.
- Pull back up, maintaining control and good form.
This exercise helps you get used to the tension required for the Iron Cross and builds your ability to engage the necessary muscles. Focus on keeping your form tight and avoid letting your body sway or your shoulders rise.
Iron Cross Trainers
If you have access to Iron Cross trainers, these can be incredibly beneficial for bridging the gap between assisted and full Iron Cross holds. Iron Cross trainers allow you to gradually increase the intensity of the movement without jumping into the full position too quickly. They help you develop the necessary strength and control, and once you can perform them with good form, you’ll be much closer to achieving the Iron Cross.
Training Frequency and Volume
Due to the intense nature of the Iron Cross, it’s important not to overtrain. Focus on quality, not quantity:
- Train the Iron Cross once per week to avoid overuse injuries.
- Include supplementary exercises, such as weighted dips and ring dips, to enhance your pulling and pressing strength. Weighted dips on the rings are especially beneficial as they mimic the movement pattern of the Iron Cross.
A typical training session for the Iron Cross might include:
- One primary exercise (e.g., assisted Iron Cross pulls) with 5 sets of 5 reps.
- One accessory exercise (e.g., ring support push-ups) with 5 sets of 5 reps.
- One exercise focused on strengthening the elbows and maintaining joint health (e.g., ring support holds or push-ups).
If you’re new to the Iron Cross, start with 3 sets of 5 reps per exercise and gradually increase the volume as you become stronger.
Elbow Health and Injury Prevention
The Iron Cross is tough on the elbows, especially in terms of hyperextension and the added weight and stress. You might feel some discomfort or tension in your elbows while training, but it’s important to avoid injury by strengthening the muscles around the elbow and avoiding overtraining.
If you experience consistent elbow pain or discomfort, take a step back from Iron Cross-specific exercises and focus on joint mobility and strength exercises to address the issue. Regular rest and proper warm-ups are also vital to prevent elbow overuse injuries.
Patience and Consistency Are Key
The Iron Cross is a skill that requires time to develop. It’s important to be patient and consistent with your training. As you continue to work on your pulling and pressing strength and practice the proper progressions, you will eventually be able to hold the Iron Cross for longer periods.
For some athletes, it may take 1-2 years of consistent training to achieve the Iron Cross, especially if they are working with a heavier body weight. However, with the right approach and mindset, you’ll be able to unlock this challenging skill and add it to your gymnastics or calisthenics repertoire.


