A handstand on still rings is one of the most demanding balance skills in gymnastics and calisthenics. Even athletes with strong floor handstands are often surprised by how unstable and unforgiving the rings feel at first.
That’s normal.
Rings remove the solid base you rely on during a floor or parallettes handstand. Every small shift in your shoulders, elbows, or core instantly affects balance. Because of that, learning a ring handstand is less about brute strength and more about patience, control, and gradual progression.
This guide walks you through a practical, beginner-friendly path to building your first controlled handstand on still rings.
Before You Start: What You Should Already Have
Before training ring handstands, make sure you have these foundations in place:
1. A solid floor or parallettes handstand
You don’t need a perfect one-minute hold, but you should be able to kick up with control and hold balance without excessive arching or banana shape.
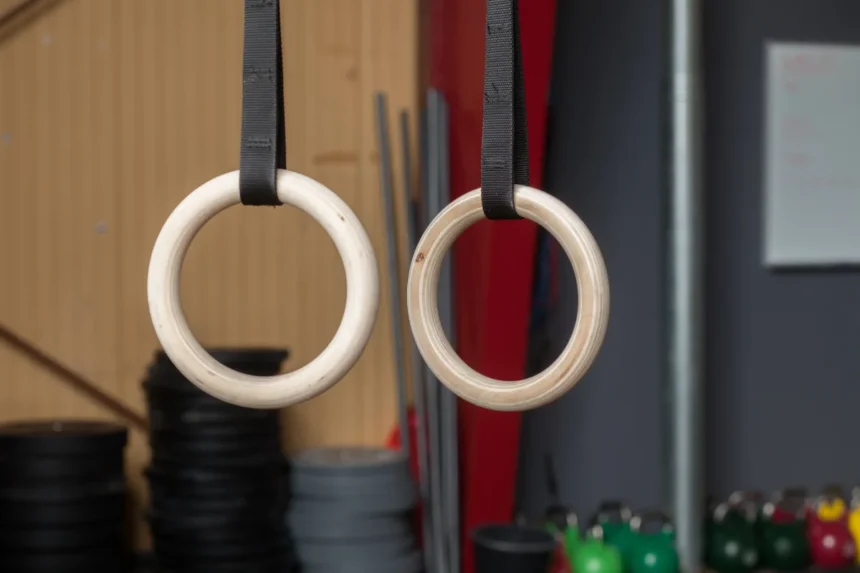
2. A strong front support on rings
This means holding yourself on straight arms with the rings turned slightly out, shoulders active, and core tight. If needed, you can begin with:
- Slightly bent arms
- Rings turned in slightly
The goal is control, not perfection.
Progression 1: Ring Push-Up Support Hold
This is where everything starts.
Set yourself up in a ring push-up position with the rings close to your body. From here:
- Lock your elbows fully
- Externally rotate your hands so your forearms angle slightly forward
- Keep your arms away from the straps
If your elbows lean into the rings, you’re not ready to move on yet.
Drill 1: Lockout Rotations
Slightly bend your elbows, then fully extend them again while externally rotating the arms. Move slowly and deliberately. This teaches your joints and nervous system how locked-out support should feel on unstable rings.
Drill 2: Small Chest Flyes
Perform tiny ring fly movements while maintaining locked elbows and active shoulders. You can do these in full push-up position or with your knees down if needed. The goal is scapular control, protraction, stability, and tension, not range of motion.
Stay here until the position feels solid and calm.
Why the Pike Handstand Is Skipped on Rings
On the floor, the pike handstand is a common progression. On rings, it causes problems.
The pike naturally shifts pressure forward, which makes the rings swing away from you. Instead of helping, it teaches bad habits. Because of that, it’s better to skip the pike entirely and move directly to an assisted handstand position.
Progression 2: Assisted Ring Handstand (Feet Elevated)
Place your feet on a box high enough that your:
- Hands
- Shoulders
- Hips
are stacked vertically.
Your legs can be parallel to the floor or slightly higher. If your hamstring flexibility is limited, keep your knees slightly bent, don’t let mobility become the limiting factor.
In this position, repeat the same drills:
- Small lockout rotations
- Tiny inverted “handstand cross” movements
At first, this will feel extremely unstable. To make it manageable, connect the rings with a resistance band or elastic. This reduces lateral movement and lets you focus on alignment and shoulder control.
Progression 3: One-Leg Ring Handstand
Now things start to feel real.
From the assisted position, lift one leg into the handstand. This introduces rotation and imbalance, making alignment much harder to maintain.
The key here is verticality. If your body leans even slightly, the rings will drift apart. On top of that, having one leg raised creates torque that wants to twist you out of position.
Again, practice:
- Lockout rotations
- Tiny inverted cross holds
Use an elastic between the rings if needed. This stage often looks messy at first but it improves quickly with repetition.
Progression 4: Full Ring Handstand With Feet on the Straps
Your first full ring handstand attempt will not be pretty, and that’s normal.
Most athletes get into it by:
- Lifting one leg
- Wrapping it around a ring
- Bringing the second leg up and securing the other ring
At first, just hold the position. Focus on:
- Fully locked elbows
- External rotation
- Arms staying off the straps
As control improves, begin adjusting foot placement so the outside of your ankles rest lightly against the inside of the straps. This gives feedback and stability without fully relying on the ropes.
For this stage, connecting the rings with an elastic is highly recommended.
The Optional Step: Feet Off the Straps
Taking your feet completely off the straps looks impressive, but it’s not the most important part of the journey.
By the time you reach this stage, you’ve already built:
- Exceptional scapular stability
- Straight-arm strength
- Shoulder control that carries over to countless other ring skills
If you choose to train this step, use a crash mat and expect frequent falls.
The Hardest Part: Getting Into the Ring Handstand
Holding a ring handstand is one challenge. Getting into it without assistance is another level entirely.
There are two common approaches:
- Jumping up and saving yourself with the feet (messy and inconsistent)
- Pressing or bending slightly into the rings, getting the feet up, then pushing out
This phase deserves its own dedicated training and is beyond the scope of this guide. For now, focus on mastering the progressions that build the strength and control needed to make it possible.
If you work patiently through these progressions, you’ll gain benefits far beyond the final hold. Your floor handstand will feel lighter. Your shoulders will feel stronger. Your control on rings will improve across the board.