Calisthenics can feel intimidating when you’re just starting out, especially with all the advanced moves you see online. But here’s the truth: you don’t need fancy equipment or years of experience to begin. All you really need is a pair of gymnastic rings.
Rings are one of the most cost-effective, versatile, and portable tools for bodyweight training. You can hang them from a pull-up bar, a tree branch, or a sturdy beam at home.
Next, we’ll cover the three essentials and then give you a 12-week program designed specifically for beginners.
The 3 Pillars of Ring Training
1. Basics (Foundational Strength)
The basics (push-ups, rows, pull-ups, and dips) are the foundation of ring training. They build raw strength and protect your joints before you attempt harder skills. Aim for controlled sets of 8–15 reps to develop muscle, tendon resilience, and good form.
2. Core (Your Force Transfer “Bridge”)
Your core connects your upper and lower body. On rings, it’s constantly active: holding a plank in push-ups, keeping your hips stable in pull-ups, or locking your body straight in a lever. Training both dynamic movements (leg raises, toes-to-rings) and static holds (L-sits) creates stability you’ll use in every skill.
3. Skills (After You’ve Built the Base)
Once you’ve mastered the basics and reached strength checkpoints (push-ups, rows, pull-ups, dips, plus core holds), you can begin skills. Start with progressions like tuck holds, assisted muscle-ups, and skin-the-cat. These prepare your tendons and joints for the stress of advanced holds like levers and full muscle-ups.
Pillar 1: The Calisthenics Basics (and How to Scale Them)
The “big four” compound moves form your starter toolkit. Rings make them scalable, simply change ring height or body angle to adjust difficulty.
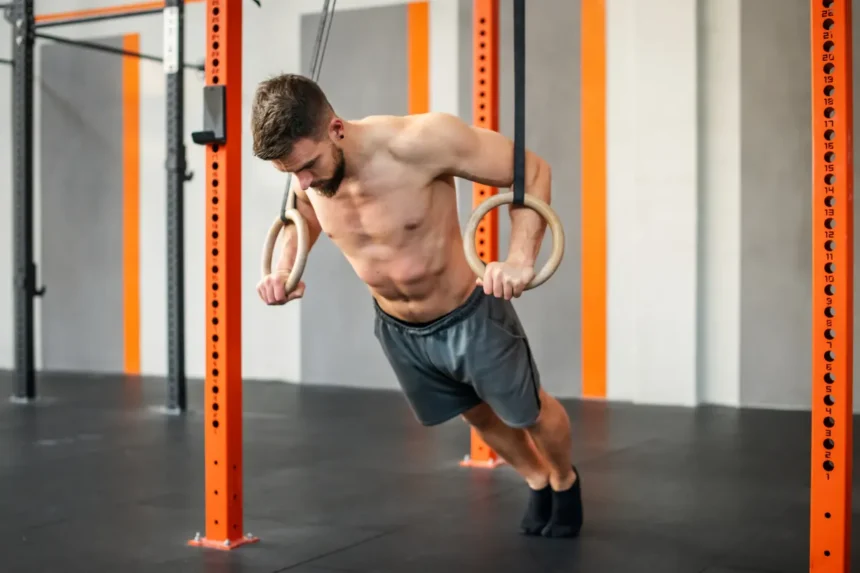
Ring Push-Up
- Start: Incline push-ups (rings higher than chest).
- Progress: Lower the rings gradually → horizontal push-ups → decline push-ups (feet in rings).
- Cues: Keep a straight body line, elbows at 30–45°, ribs down, glutes lightly on.
Ring Row (Australian Pull-Up)
- Start: High rings, body fairly upright.
- Progress: Lower rings and walk feet forward until nearly horizontal.
- Cues: Pull elbows toward your pockets, squeeze shoulder blades, no hip sag.
Ring Pull-Up
- Start: Begin with negatives (jump to the top, lower slowly for 3–5s).
- Progress: Strict pull-ups with full range.
- Cues: Shoulders packed (down), no kipping, chin clears hands.
Ring Dip
- Start: Feet-assisted dips.
- Progress: Strict dips—lower until shoulders pass elbows, then lock out.
- Cues: Rings close to body, forearms vertical, shoulders down.
Optional Add-Ons
- Reverse Flyes → rear delts & upper back.
- Chest Flyes → pecs.
- Bicep Curls → use a supinated grip.
- Tricep Extensions → adjust body angle for difficulty.
Strength Goals Before Skills:
- 20 push-ups
- 20 rows
- 10 pull-ups
- 10 dips
Pillar 2: Build a Strong, Useful Core
Your core should be trained two ways: dynamically to build strength through movement, and isometrically to hold tension.
Dynamic: Leg Raise Progression
- Step 1: Knee Raises → knees to hip height.
- Step 2: Straight-Leg Raises → legs extended to 90°.
- Step 3: Toes-to-Rings → pull legs up to touch the rings.
Why it matters: Strong lower abs prevent sagging in levers and other static holds.
Goal: 5 clean reps of toes-to-rings.
Isometric: L-Sit Progression
- Step 1: Tuck L-Sit → knees bent.
- Step 2: One-Leg L-Sit → extend one leg.
- Step 3: Full L-Sit → legs straight, parallel to floor.
Setup Cues: Rings at your sides, shoulders pressed down, rings pressed slightly outward.
Goal: 10-second full L-sit hold.
Pillar 3: Intro to Skills
With basics and core strength in place, you can start working toward classic ring skills. Take it slow—tendon strength builds gradually.
Ring Muscle-Up
- Assisted Transition: Feet on floor → row → rotate wrists (false grip helps) → stand into dip.
- Negatives: Start in dip → control the transition down → finish in dead hang.
- Strict Muscle-Up: Combine strong pull, smooth transition, and controlled dip.
Tip: Pull low and fast to get your chest above the rings before rotating through.
Back Lever
- Prerequisite: Skin-the-cat for shoulder mobility.
- Progression: Tuck (20s) → One-Leg (10s) → Straddle → Full.
- Cues: Elbows locked, glutes tight, ribs down, eyes slightly forward.
Front Lever
- Progression: Tuck (20s) → Advanced Tuck → Straddle → Full.
- Cues: Straight arms, shoulders depressed, hips level with shoulders.
Dynamic Straight-Arm Strength
- Front Lever Raises: Dead hang → tuck → pull to horizontal.
- Back Lever Raises: From tuck back lever → pull through to top.
- Prescription: 3–5 slow, controlled reps.
The 12-Week Beginner Plan
This program builds strength in Phase 1 and introduces skills in Phase 2.
Phase 1 (Weeks 1–6): Basics + Core
Upper/Lower Split (lower = core + legs).
- Day 1 – Upper: Push-ups, rows, pull-up negatives/pull-ups, dips, optional isolation.
- Day 2 – Core & Legs: Leg raises, L-sits, squats/split squats, hip hinges, calf raises.
- Day 3 – Upper (Variety): Same basics, but change grips/angles or add tempo.
- Day 4 – Core & Legs: Repeat, but progress slightly.
- Day 5 – Upper (Focus): Return to basics, leave 1–2 reps in reserve.
- Weekend: Rest, flexibility, or light cardio.
Progression Rules:
- Lower the rings or adjust angles when you can exceed the rep range.
- Lengthen negatives (3–5+ seconds).
- Add a set OR a rep weekly, not both.
- Stop when form breaks—quality always comes first.
Phase 2 (Weeks 7–12): Skills + Basics
Now separate Skills + Core days from Basics days for cleaner focus.
- Day 1 – Skills + Core: Assisted transitions, negatives, skin-the-cat, tuck levers, L-sits, optional raises.
- Day 2 – Basics: Hardest push-up variation, rows, strict pull-ups, strict dips.
- Day 3 – Legs/Cardio/Rest.
- Day 4 – Skills + Core: Same as Day 1, but progress (longer holds, harder tuck).
- Day 5 – Basics: Same as Day 2, keep form crisp.
- Day 6 – Legs/Cardio/Rest.
- Day 7 – Rest.
Warm-Up & Safety
Spend 5–8 minutes on:
- Wrist circles
- Scapular circles (protract/retract, elevate/depress)
- Ring support shrugs (10–15)
- Band/towel external rotations
Always: Shoulders down, ribs down, glutes on, elbows straight when required.
Tendon Care: Straight-arm strength grows slowly. Add seconds to holds gradually and rest if joints feel sore.
Troubleshooting & Tips
- Stuck on Pull-Ups? Do more negatives and top holds (chin over rings).
- Rings wobble? Slow down. In pushing → shoulders down/forward. In pulling → shoulders down/back.
- Elbow pain? Reduce straight-arm volume, bend elbows slightly during raises, return gradually.
- Progress feels slow? That’s normal. Focus on micro-progressions: longer holds, lower rings, one more rep.
Over 12 weeks, these small steps add up to big gains.
Final Thoughts
Training with rings is one of the smartest ways to start calisthenics. They challenge your stabilizers, strengthen your joints, and prepare you for advanced skills, all with just one piece of equipment.
Stick to this 12-week plan, stay consistent, and you’ll already feel like a different athlete by the end of it.