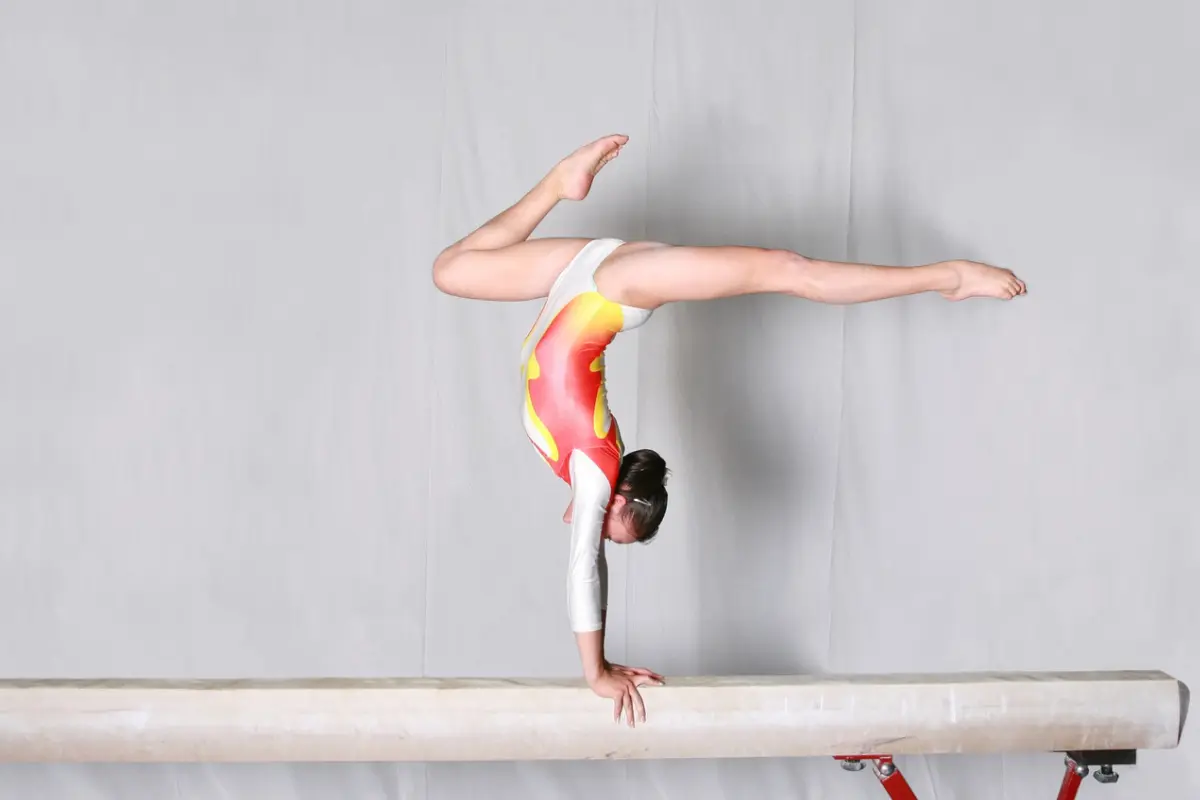
Level 5 is the final step in the USAG compulsory beam series, and it brings everything together: acro skills, dance elements, and even a back tuck dismount. It’s where form meets power. You’ll need to connect a flight skill, a full turn, jumps and leaps, a cartwheel, and finish with confidence.
Mount and Beginning Shapes
The gymnast begins at the end of the beam opposite the dismount. She performs a jump to front support, immediately pulling the non-dominant leg into a tucked position (also called a “fish pose”). The knees stay tight together, arms straight, and eyes on the beam.
From there, she places the arch of the non-dominant foot on the beam and looks at it. The dominant leg swings through, pulling the gymnast into a seated position. Her arms rise into a crown, eyes still focused down the length of the beam.
She turns her body and places both hands on the beam in a butterfly position—fingertips gently turned inward. She kneels on the dominant knee and fully sits on her heel while the other leg hangs off naturally. Then, arms rise to a T, sweep through, and finish in a soft press-back V shape. Chin up, eyes forward.
Kick, Pose, and Acro Skill
From standing, the gymnast performs a controlled leg lift—dominant leg forward, base leg in plié. Arms are soft in front.
This is followed by a “tap-tap” step pattern: two small, sharp taps of the back leg behind the beam, keeping the knee high. Arms extend to a T.
Then comes the first acrobatic element: either a back walkover, side aerial, or back handspring step-out. Most gymnasts at Level 5 choose the back handspring. She lands and finishes in a standing position.
Arm Shape, Cross Pose, and Turn Setup
The gymnast extends her back leg behind and begins rotating her body to the side of the beam. Arms go into a wide T. Then she crosses her arms and lifts her non-dominant leg into a passé. The position is sharp and precise—knee lifted to hip level, toe pointed near the opposite knee.
She places her non-dominant hand on her hip, and the dominant arm extends softly forward. This transitions her into a relevé lock stand, with feet close together, body tall, and back foot slightly behind.
Full Turn (Heel Snap) and Four-Count Prep
Here comes the signature Level 5 cue: “Hip hand does the work.” The arm on the hip lifts up, sweeps through crown, and opens to the side, setting up the heel snap turn.
In this turn:
- The gymnast places her dominant foot in front.
- Arms create a soft, round “beach ball” shape.
- She rises to relevé, snaps the heel to rotate 360°, then lowers the heel with control.
After the turn, she steps into a lock position, feet tightly connected, arms behind the body.
Four-Count Movement Phrase (Scale to Jumps)
This four-count sequence teaches rhythm and dynamic control:
- Step to a scale—non-dominant leg lifts behind, base leg in plié, arms in opposition.
- Bring arms up to crown, lift the front leg into passé, then lower it.
- Step and cross the dominant leg in front.
- Dip into a dramatic hover pose—one arm down, one up, eyes on the hand.
From here, she continues directly into the jump series:
- Split jump (180° or more)
- Sissone (small side leap)
- Step and finish with a standing pose.
Squat Turn and Fossé Pose
The gymnast steps the non-dominant leg in front and lowers into a squat position. Arms close behind the head.
With control, she turns and rises into a sharp fossé pose: dominant hand stacked on top of non-dominant, fingers wide in a jazz-hand shape. She looks over her non-dominant shoulder—strong, proud, theatrical.
Scale + Leap + Stretch Jump Series
From the fossé pose, the gymnast drops directly into a scale—dominant leg extended behind, above horizontal. She holds it for two counts.
Using the momentum from the scale:
- She steps forward into a leap (either switch or split).
- Immediately pulls the back foot in for a connected stretch jump.
- Lands in a clean V finish.
Arms trace a pathway: down, back, and up to crown during the stretch jump.
Dramatic Pose, Cartwheel, and Final Jump
After the stretch jump, the gymnast:
- Steps back with the dominant foot into a forced arch pose, arms folding and pressing forward.
- Repeats with the other leg.
- Lifts both arms high and points the dominant foot.
This setup leads into a cartwheel and a final stretch jump. She lands and finishes in a tall position, with the non-dominant leg in front.
Back Tuck Dismount Sequence
This final sequence mimics an optional gymnast’s setup for a powerful dismount:
- From the last stretch jump, she finishes in first position on high relevé.
- Hand on hip, non-dominant leg points down the beam—about one foot from the edge.
- She switches feet and raises the non-dominant arm.
- The dominant arm slices across her face, leading into a dramatic turn of the head.
Then: fingers press to opposite shoulder, preparing for the back tuck.
With eyes down the beam, the gymnast performs a back tuck dismount—a tucked salto directly off the end of the beam, landing on the mat.


