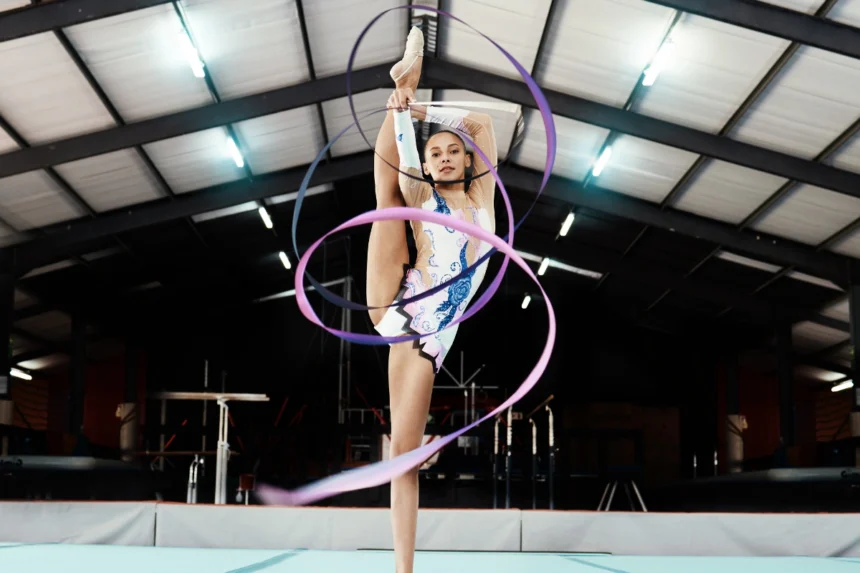
Rhythmic gymnastics is a beautiful sport that combines grace, strength, and precision. One of the most elegant pieces of equipment in this discipline is the ribbon.
In this beginner’s tutorial, we’ll cover the essential basics of ribbon handling, helping you build a solid foundation for mastering more advanced techniques later on.
1. How to Hold Your Ribbon the Right Way
Before you even think about performing routines, it’s crucial to get your ribbon grip right. One mistake many beginners make is holding the stick in the middle, but this can seriously affect your control and result in deductions during competitions. Here’s the proper way to hold your ribbon:
- Grip the stick at the end with your index finger on top and your thumb underneath. This gives you better control and keeps the ribbon from tangling.
- The right grip is like a foundation—when you start with the correct hold, you’ll be able to move on to more advanced tricks without worrying about your technique falling apart.
So, take a moment to focus on getting the grip just right. It’s a small detail, but it makes a huge difference.
2. Perfecting the Coil
Coils are one of the most basic, yet essential movements in ribbon handling. Whether you’re transitioning into a pirouette, a dance move, or a balance, the coil will come up time and time again. Here’s how to nail it:
- Start by drawing a circle with your fingers and gradually loop more ribbon into it. The goal is to make a smooth, round shape.
- Keep your coils even and circular—if they’re too oval or uneven, they might make the ribbon harder to control and more prone to tangling.
- Focus on wrist movement, not arm movement. Let your torso and ribcage help guide the ribbon for a smoother, more controlled motion.
It’s totally normal to feel like one side is easier than the other. The best way to fix this is to practice with both hands. Try 10 seconds of coils with each hand and alternate, building strength and consistency.
3. Mastering the Snake
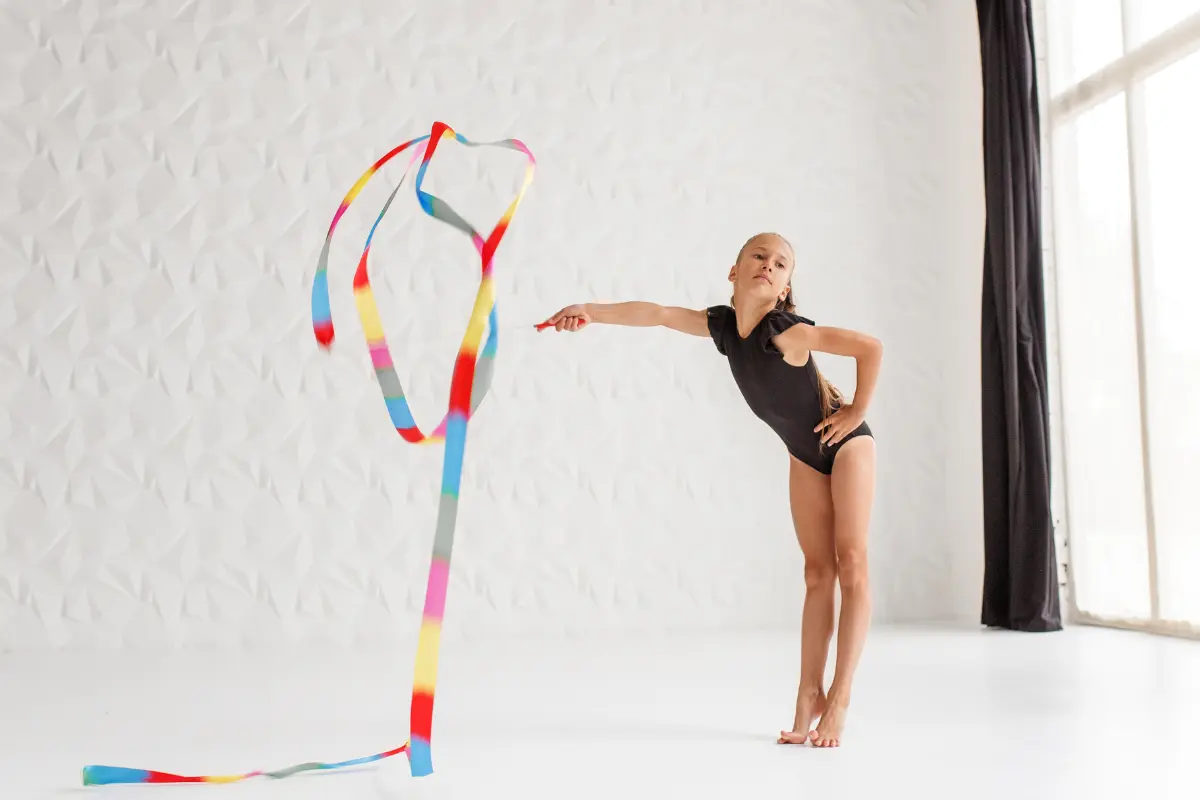
The “snake” movement is a signature move in rhythmic gymnastics, where you create wave-like motions with the ribbon. It looks easy, but it requires smooth control. Here’s how to do it:
- Hold the stick at a slight elevation, making sure it’s not too low (this can cause the ribbon to touch the floor).
- Use your wrist to create smooth, flowing waves, keeping the ribbon off the ground.
- The key here is fluidity—think of it like you’re drawing soft waves in the air, not jerking the ribbon around.
Try doing 6 reps on each hand, holding each wave for 10 seconds to build control. The more you practice, the smoother your waves will get.
4. Creating Large Circles
Once you’ve got the hang of coils and snakes, it’s time to work on large circles. This technique requires your shoulder to do most of the movement, not your wrist. Here’s how to do it:
- Sweep your arm in large circles, using your shoulder to control the motion. Your wrist should stay straight.
- Focus on making your circles smooth and wide—no jerky or jagged edges!
- Don’t forget to practice both directions to keep your movements balanced.
The larger circles will help add flow and elegance to your routines, and they’re a great way to connect other elements of your performance.
5. Preparing for Tosses
Tossing the ribbon is one of the most exciting (and tricky!) parts of rhythmic gymnastics. It’s a great way to add flair to your routine, but you need to start with the basics:
- Begin by turning the ribbon in one direction.
- Grab the ribbon with your other hand and pull it back, making sure your movements are smooth and controlled.
- Practice this basic toss prep until it feels natural. You want to avoid jerking movements, which could cause the ribbon to tangle.
Once you’ve got the motion down, you can gradually work up to tossing the ribbon higher in the air as part of your routine.
6. Medium Circles: Finding the Sweet Spot
After mastering large circles, it’s time to work on medium circles. This one comes from your elbow, which gives you a nice balance between the broad shoulder circles and the finer wrist movements. Here’s what you do:
- Hold the ribbon with one hand and guide it with your elbow, making smaller, round circles.
- Make sure your circles are consistent and fluid—no squiggly lines or ovals.
- Practice in both directions, doing 10 reps on each side to build up control.
Medium circles are perfect for transitions, and they offer a great way to change up the flow of your routine.
7. Walking Through the Ribbon
Walking through the ribbon might seem easy at first, but it requires timing and control. This move involves you walking through the ribbon while keeping it in motion around you. Here’s how to get started:
- Walk slowly and deliberately, letting the ribbon flow around you as you move.
- Keep the ribbon fluid and controlled, moving with your body as you step through it.
It’s a tricky move, but once you get the hang of it, it adds a beautiful, dynamic element to your routine. Practice slowly at first and work on timing your steps with the ribbon’s movements.
Pro Tips for Success:
- Practice regularly to build strength in your wrists, arms, and shoulders. It’s all about building that muscle memory.
- Start slow and focus on getting the technique right before speeding things up. Precision is key!
- Don’t rush the basics—each movement builds on the last, so mastering the small things will help you as you advance.
- Stay patient—you won’t be perfect right away, and that’s okay! Mistakes are part of the learning process.
Ribbon handling is all about consistency and dedication. The more you practice, the more comfortable and confident you’ll become. Keep going, and soon you’ll be flowing through your routines with ease, adding flair and beauty to every move.


