The back walkover is an elegant and foundational gymnastics skill that builds flexibility, balance, and strength. A perfect back walkover combines fluid motion, controlled splits, and precise hand placement.
Though it may seem challenging, with the right practice techniques and a focused approach, it’s possible to master a back walkover in just one day. This guide brings together essential tips, drills, and progressions to help gymnasts of all levels achieve a smooth and controlled back walkover.
1. Warm-Up and Stretching: Preparing Your Body for Success
Proper preparation is the first step to mastering any gymnastics skill. Warming up and stretching not only improve flexibility but also reduce the risk of injury. Here are some recommended stretches to get your body ready for a back walkover:
Recommended Warm-Up Stretches
- Bridge Stretch: Lie on your back with bent knees and feet flat on the floor. Place your hands near your ears and press your hips up to create an arch. This stretches your shoulders and back.
- Shoulder Stretches: Reach one arm across your chest and hold it with the opposite hand. Switch sides to increase shoulder flexibility.
- Hamstring Stretches: Sit with legs extended in front and reach for your toes. Hold to stretch the back of your legs.
These stretches prepare the core muscles and improve the flexibility needed to perform the back walkover.
2. Building the Foundation with a Basic Backward Limber
Before attempting a full back walkover, mastering the backward limber is crucial. The backward limber builds strength and balance, providing a solid foundation for a back walkover.
Steps to Master the Backward Limber
- Stance and Preparation: Start with your feet shoulder-width apart, arms raised high above your head, and shoulders pushed up. This creates an elongated posture.
- Forming the Bridge: Slowly bend back at the waist, reaching for the floor with your hands. Maintain control as you form a bridge.
- Lifting into a Handstand: Once your hands touch the floor, transfer your weight to your shoulders and lift your hips high, aiming for a handstand. Control your descent as you bring your legs together, returning to a standing position.
Key Tips for Success:
- Focus on weight transfer to your shoulders and wrists as your hands make contact with the floor.
- Keep your hips high to facilitate the transition to a handstand.
- Remember: “Something has to go down for something to come up.” As your upper body lowers, your hips and legs should rise.
3. Developing the Kickover: Building Strength and Control
The next step in mastering a back walkover is the kickover from the bridge position. This step involves pushing your legs over your body with strength and precision, moving from an upside-down bridge to a standing position.
How to Practice the Kickover
- Bridge Position: Start by falling back into a bridge. Keep your feet shoulder-width apart.
- Leg Lift and Kickover: Lift one leg high and use its momentum to kick over. Push through your shoulders for additional lift.
- Controlled Finish: Land with your legs together in a strong, upright stance. Keep your core engaged to maintain balance.
Drill Progression:
- Begin with your back bridge on an elevated surface to reduce effort.
- Gradually transition to the floor as you gain confidence and control.
- Focus on smooth, continuous movements as you kick over, maintaining straight legs.
4. Putting It All Together: Executing the Back Walkover
Now that you’ve mastered the backward limber and kickover, it’s time to combine them into a full back walkover. This phase requires precision in timing and movement coordination.
Step-by-Step Back Walkover Execution
- Starting Position: Extend one foot out in front of you and point your toe. Keep this foot grounded as you begin the move.
- Back Bend: Fall back into a bridge, allowing your hands to touch the ground.
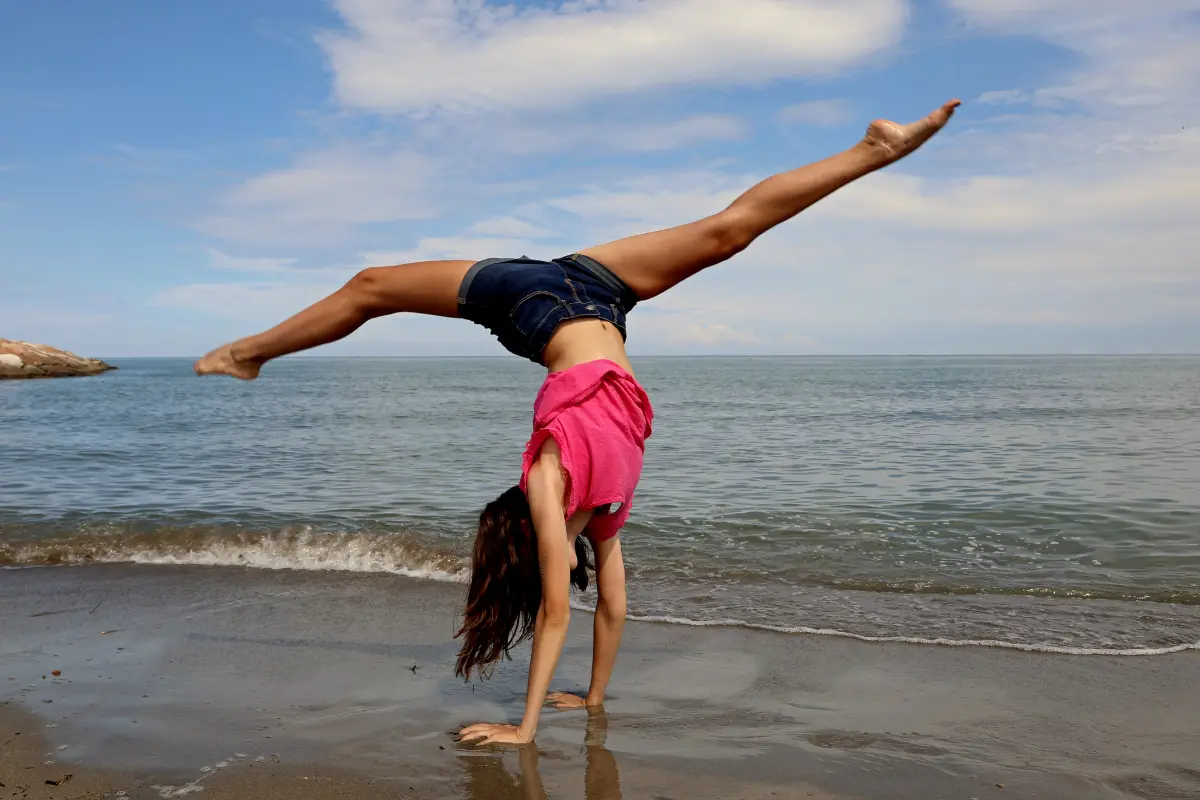
- Split Kickover: As soon as your hands make contact, kick your leading leg up and over, splitting your legs in the process.
- Controlled Landing: Push off your supporting leg and bring your body into a standing position. Aim for a graceful finish, with your arms extended upward.
Key Points for Smooth Execution:
- Ensure your leading leg remains pointed throughout the move.
- Allow your shoulders to guide the descent while your hips drive the upward motion.
- Focus on a fluid transition from the back bend to the kickover.
5. Drills to Enhance Control and Stability
Advanced drills can further refine your back walkover, helping you achieve better form and stability. One of the most effective exercises is the “Hold for Two” drill, which focuses on control during the movement.
The “Hold for Two” Drill
- Bridge Hold: Begin your back walkover as usual, but pause for two seconds when you reach the bridge position.
- Full Walkover with Hold: After holding, proceed to complete the back walkover, holding the split position for an additional two seconds.
- Solid Finish: End with an upright position, maintaining balance and control.
Tips for Improved Control:
- Lift your arms and chin during the bridge hold to maintain a stable core.
- Engage your core muscles and legs to enhance strength and coordination.
- Practice this drill regularly to improve muscle memory and execution.
6. Progressing to Advanced Skills: From Back Walkover to Back Handspring
Mastering the back walkover not only builds confidence but also prepares gymnasts for more advanced skills, like the back handspring. The flexibility, strength, and control developed through back walkover drills lay the groundwork for these complex movements.
Preparation for Advanced Moves:
- Continue practicing backward limbers, kickovers, and back walkovers to solidify foundational skills.
- Focus on increasing shoulder flexibility and upper body strength.
- Work on perfecting body alignment to ensure smooth transitions between moves.
Conclusion: Consistent Practice Leads to Success
With dedication and a structured approach, the back walkover can become a fluid and confident movement, showcasing both flexibility and strength. Keep practicing, and celebrate each small victory along the way!


