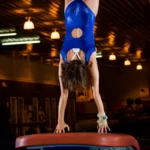
If you’ve ever watched a young gymnast make a smooth transition from swinging under the bar to pressing up into a front support on top of it, you’ve seen the magic of a kip in action. But don’t be fooled by how effortless it looks. The kip is notoriously difficult to learn, often taking months—or even years—to perfect.
What Is a Kip and Why Is It So Important?
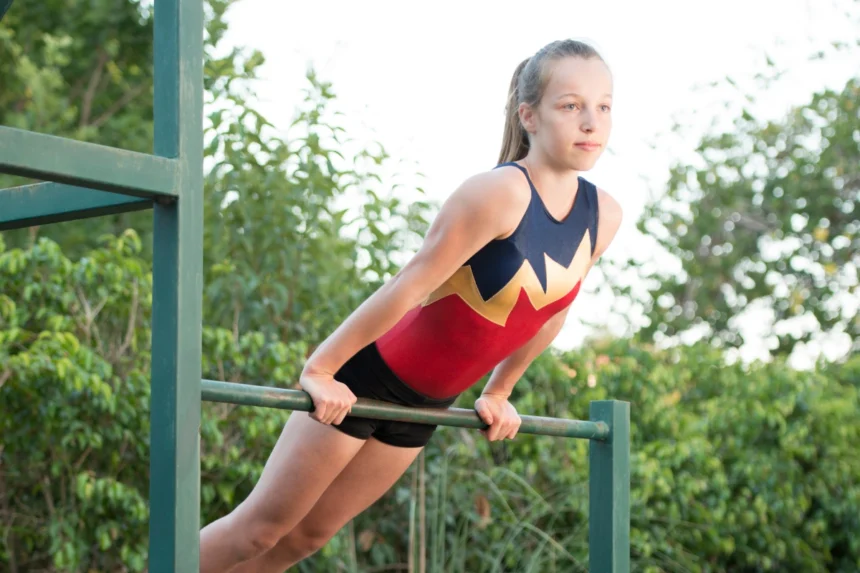
In simple terms, the kip is a skill used to get onto the low bar or high bar in women’s artistic gymnastics. Rather than using a simple pull-up or jump, gymnasts use a combination of swing, strength, and timing to lift themselves onto the bar in one fluid motion.
It’s more than just a mount—it’s a gateway. The kip is a required element in Level 4 of the USA Gymnastics Development Program and becomes a foundational skill for building full bar routines in later levels.
But here’s the twist: despite its “early level” classification, the kip is hard. Really hard. Most gymnasts start training it around age 6 or 7, and progress depends on how quickly they develop the required strength, timing, and feel for the movement.
To perform a kip, a gymnast has to coordinate several challenging actions at once:
- Generate momentum with a strong glide swing
- Use the core and hip flexors to lift the legs sharply
- Shoot the toes upward to create an upward trajectory
- Time the wrist flick just right to roll the bar and land in front support
Because of all these moving pieces, coaches don’t teach the kip all at once. Instead, they break it down into parts—glide, leg lift, hip rise, and bar press—and athletes learn each piece separately before combining them into the full skill.
Kip Drills and Conditioning Exercises
Training for the kip is all about repetition and isolating the parts that need the most work. Here are three core drills that build the strength and timing needed to make progress:
1. Leg Lifts to Candlestick
This core-focused drill strengthens the hip flexors and helps the gymnast learn to shoot the toes upward. The end goal is to reach a candlestick position—hips lifted, legs vertical, body tight—mimicking the lift and shoot motion of a kip.
2. Resistance Band Pull-Downs
With a resistance band looped overhead or around a bar, the gymnast pulls the band down toward the hips—just like they would when finishing a kip. This drill builds shoulder and lat strength while reinforcing the wrist flick needed to get on top of the bar.
3. Rhythm & Rocking Drills
Strength alone won’t get you a kip—timing is key. Coaches often use rocking or glide-swing rhythm drills to help athletes feel how the different kip phases flow together. These drills improve awareness of speed, swing depth, and how to connect each motion.
Putting It All Together: Step-by-Step Kip Breakdown
Once a gymnast has built enough strength and rhythm, it’s time to try the full kip. Here’s how it typically looks:
- Start about three feet from the bar.
- Use a springboard to initiate a big jump into a long glide swing. This glide gives you the momentum needed for the rest of the skill.
- Lift your legs toward the bar, then shoot your toes upward toward the ceiling. This is where the power from your core and hips really kicks in.
- Flick your wrists and push into the bar. This motion helps transition your body over the bar and into a front support.
- Finish in a strong front support position on top of the bar.
Here’s a visual-style flow of how the kip progresses:
Jump → Glide → Leg Lift → Hip Drive → Wrist Flick → Bar Press → Front Support
Each step builds on the momentum and positioning of the last.
In the video demonstration, the gymnast shows a clean sequence: glide, leg lift, press. All the components work together fluidly—and that’s exactly the goal. If one part is off—like a short glide or a slow leg lift—it can throw off the entire skill.
Common Kip Killers—and How to Fix Them
Even with strength and practice, some common mistakes can hold gymnasts back. Here’s a breakdown of the top kip problems and how to fix them:
| Problem | What It Looks Like | Fix in Practice |
|---|---|---|
| Early Pike | Legs bend too early, cutting off the full glide | Count “one‑thousand” before snapping up to encourage a longer glide |
| Lazy Wrists | Ends with bent arms, hanging awkwardly | Add 15 resistance band pull-downs every warm-up to train stronger wrist action |
| Hip Drop | Hips don’t rise above the bar | Revisit candlestick drills and include rope climbs to build hip thrust power |
| Chicken-Wing Support | One arm bends first, leading the press unevenly | Focus on wider glides and cue square shoulders throughout the swing |
Coach’s Tip:
Sometimes the difference between “almost there” and a successful kip isn’t strength—it’s rhythm and confidence. Use video feedback and positive reinforcement to help gymnasts feel the right timing.