The back handspring is one of the most thrilling and essential skills in gymnastics, cheerleading, and acrobatics. Its fluidity and grace make it a foundational move that opens doors to more advanced skills. But for many athletes, achieving a perfect back handspring can be a daunting task.
What Is Back Handspring?
This gymnastics skill involves flipping backward from a standing position, with hands touching the floor for support, and landing back on your feet in a controlled and powerful way. The move requires a combination of strength, flexibility, timing, and mental focus.
To execute a back handspring correctly, gymnasts must perform four key actions:
- The Set: A powerful jump backward to generate height.
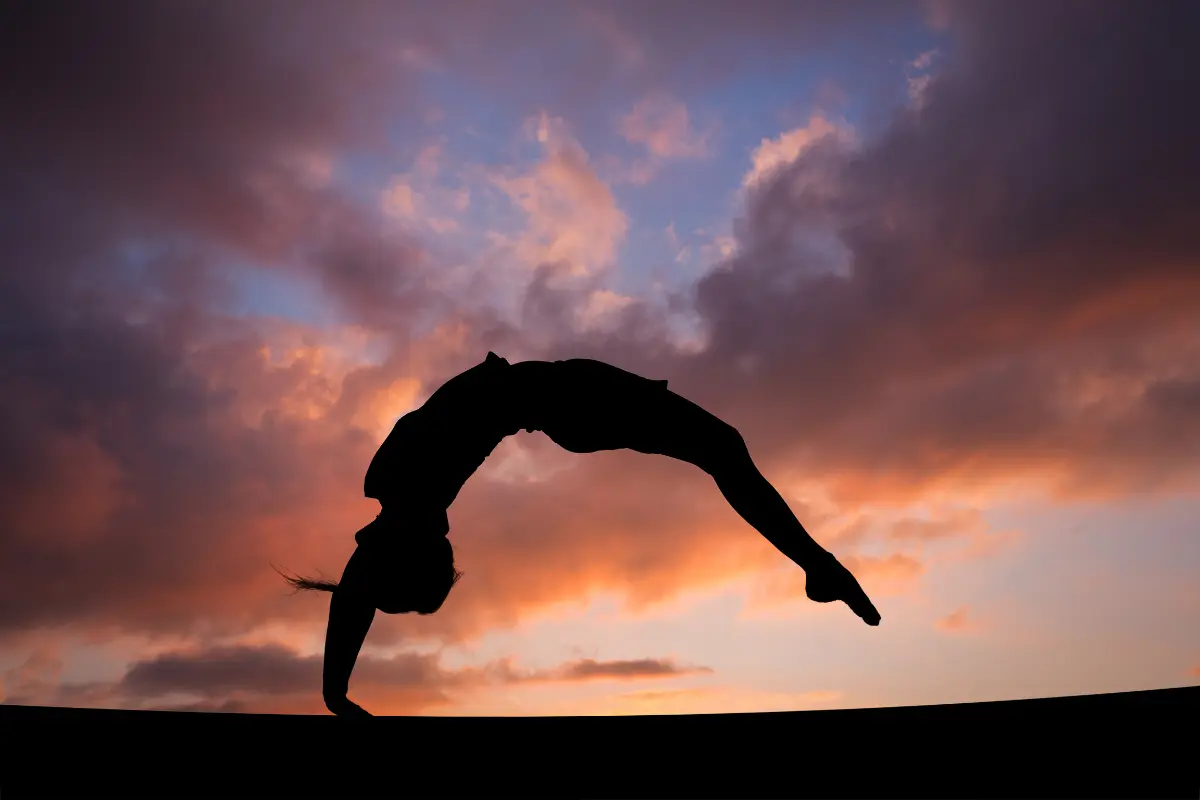
- The Backbend: The body arcs backward while the hands touch the ground.
- The Push Off: The legs push off the ground to return to a standing position.
- The Snapdown: The gymnast snaps the legs together quickly, ensuring a clean landing.
The learning process typically progresses through a series of stages, each requiring a specific focus to improve. Let’s break down what to expect at each stage of the journey to mastering the back handspring.
Stage 1: Foundation – Building Strength and Flexibility (1–3 Months)
For most athletes, the back handspring begins with developing the necessary physical foundation. Before you even attempt the move, it’s essential to have good core strength, shoulder flexibility, leg power, and back flexibility. These areas form the bedrock of the skill and will help prevent injury while also improving your performance.
Key Areas to Focus On:
- Core Strength: Your core controls the stability and power you need for the jump and the snapdown. Exercises like planks, leg raises, and hollow holds are great for building a strong core.
- Shoulder Stability and Flexibility: Strong, flexible shoulders will prevent injuries when your hands touch the floor. Push-ups, shoulder stretches, and bridge exercises are ideal for this.
- Leg Power: Strong legs are essential for propelling your body into the air. Jump squats, lunges, and calf raises help develop the explosive strength required for the move.
- Back Flexibility: A backbend requires significant flexibility. Back bridges and stretches like the cobra pose will help improve your back’s range of motion.
During this stage, it’s common to spend 1–3 months focusing solely on these areas, especially if you are new to gymnastics or acrobatics. If you’re coming from a cheerleading or dance background, you may already have some of these components in place, which could reduce the time spent in this phase.
Stage 2: Understanding the Basic Movements (3–6 Months)
Once the strength and flexibility foundation is in place, gymnasts begin to focus on the mechanics of the back handspring itself. This phase is all about learning the basic movements and understanding the proper technique.
Key Movements to Practice:
- The Set: The back handspring starts with an upward jump, so mastering the “set” is crucial. You need to raise your arms overhead, jump back with power, and bring your body into a tight position.
- Spotting and Assistance: To build confidence and safety, athletes often work with a coach or training partner. Spotting involves the coach guiding or supporting the gymnast while they practice the motion, helping to correct form and prevent falls.
- Backbend Drills: A backbend is a crucial element of the back handspring. Drills like backward rolls, wall drills, and practicing backbends on a mat help gymnasts get comfortable with arching their back and allowing their hands to touch the floor.
Typical Timeline for Stage 2:
During this stage, athletes usually spend 3–6 months working on these basics, with many starting to feel more comfortable with the motions. Some may start doing partial handsprings or back handspring drills with a spotter. Repetition is key to building muscle memory.
Common Struggles at This Stage:
- Fear of going backward: Fear is one of the most significant obstacles when learning a back handspring. It’s natural to feel nervous about flipping backward. A coach’s support and reassurance can help build confidence.
- Lack of height: Without enough height in the jump, the gymnast can’t complete the flip effectively. This is why the set and push-off must be practiced and perfected.
Stage 3: Refining the Technique (6–9 Months)
Once gymnasts have grasped the basic motions, the focus shifts to refining the technique and increasing the height of the jump. At this point, you should start to execute the back handspring without a spotter, although most athletes still use one for reassurance and safety.
Key Points to Focus On:
- Height and Power in the Jump: The back handspring requires an explosive jump to give you the necessary height. Work on pushing through your legs and jumping backward, not just falling into the handspring.
- Smooth Transitions: The motion from backbend to snapdown should be fluid. A clean transition ensures the gymnast doesn’t “pause” in the air or struggle to land back on their feet.
- The Snapdown: One of the most crucial elements in a back handspring is the snapdown — a quick, sharp movement that gets you back on your feet. Practicing the snapdown, particularly with drills, will help make it quicker and more efficient.
Typical Timeline for Stage 3:
This phase typically takes 6–9 months, depending on how quickly you can refine the technique. By this stage, you should be able to perform a back handspring on the floor with confidence, but it’s essential to continue focusing on consistency and form.
Common Struggles at This Stage:
- Inconsistent Performance: At this point, it’s common to still struggle with consistency. You may perform a perfect back handspring one day and struggle with form the next. This is part of the learning curve, and it requires regular practice.
- Mental Blocks: If you’re still afraid to go backward, overcoming that mental barrier is crucial. Visualization techniques and controlled practice with a spotter can help.
Stage 4: Mastery and Independence (9–12 Months)
In the final phase, the gymnast should have mastered the back handspring technique and be able to perform it consistently and fluidly. This is where the back handspring becomes a part of your broader gymnastics or cheer routine, and you begin linking it with other skills, like back handspring series, round-offs, or front handsprings.
Refining the Small Details:
- Landing: The landing should be controlled, with feet landing together and knees slightly bent to absorb the shock. Practice landing softly and balancing for a clean finish.
- Speed and Confidence: The more confident and comfortable you are, the faster and smoother the back handspring will feel. Focus on maintaining a high, strong set to improve speed.
- Advanced Drills: Begin linking multiple back handsprings together and incorporating them into more complex routines or tumbling passes.
Typical Timeline for Stage 4:
Achieving independence and consistency typically takes 9–12 months of consistent practice. At this point, the back handspring should feel almost effortless.
Common Struggles at This Stage:
- Inconsistency in Speed: If you’re rushing the movement, you might lose the clean form. Slowing down the motion to ensure technique is right can help with consistency.
- Fear of Sticking the Landing: Sometimes, gymnasts feel they need to stick the landing perfectly. This pressure can create hesitation, but the more you practice, the less pressure you’ll feel.
Factors Affecting Your Timeline
Several factors can influence how long it takes to master a back handspring:
- Age and Physical Conditioning: Younger gymnasts may progress faster due to their natural flexibility and speed of learning, while older athletes may need more time to build strength or overcome fear.
- Frequency of Practice: Practicing consistently, at least 2–3 times a week, is crucial. The more practice time you commit to, the faster you’ll progress.
- Coaching and Feedback: Working with an experienced coach who can provide proper feedback, spotting, and corrections is invaluable in reducing learning time.
In conclusion, it takes 6–12 months for most athletes to master a back handspring, depending on their starting point and consistency of practice. Keep practicing, stay positive, and soon enough, you’ll be flipping backward like a pro!
