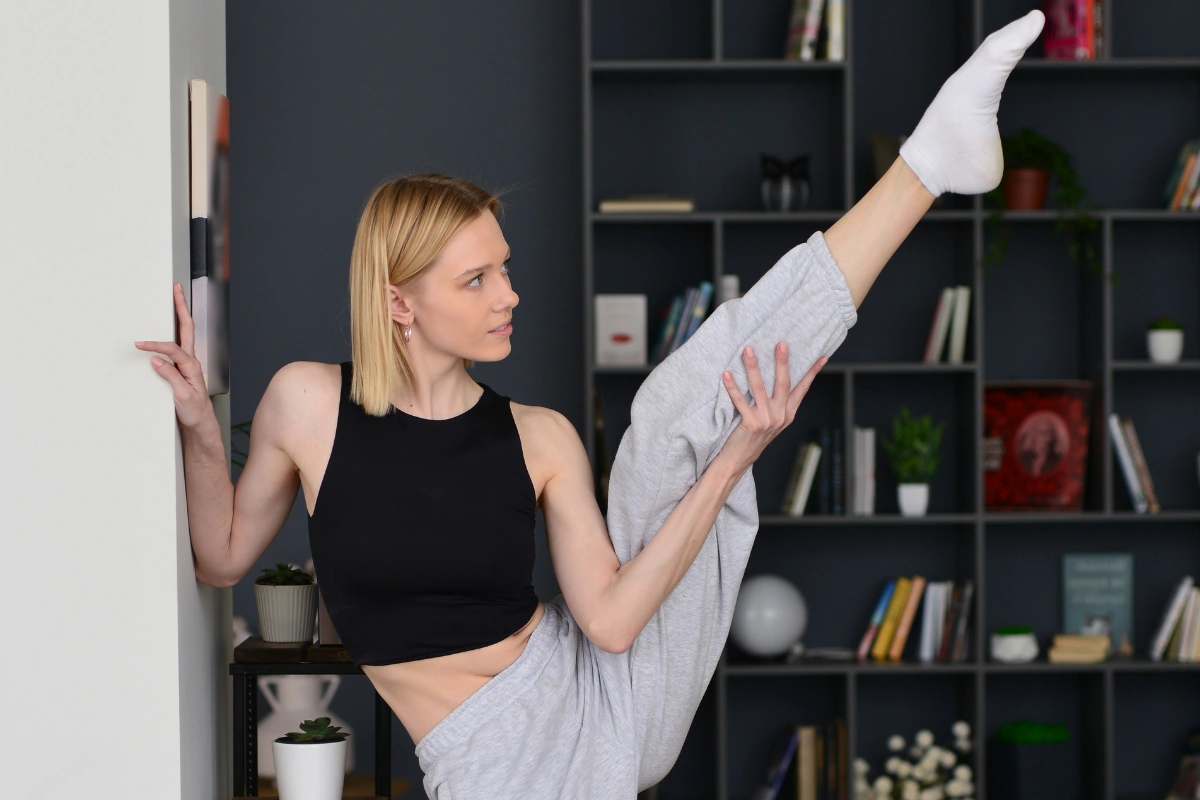
Ankle mobility and strength are essential for everyday movement and athletic performance. For beginners, improving both the flexibility and strength of your ankles can help reduce discomfort, prevent injuries, and boost overall performance.
In this article, we’ll discuss essential exercises designed to improve ankle mobility and build strength, setting you up for better movement and a more active lifestyle.
Anatomy of the Ankle
Your ankle’s mobility is controlled by several muscles in your lower leg. On the front side, you have muscles like the anterior tibialis, extensor digitorum longus, and extensor hallucis longus, which help pull your toes toward your shin (dorsiflexion).
On the back side, you have the gastrocnemius, soleus, and other smaller muscles that control plantar flexion (pointing the toes away from the shin). For many individuals, tightness in these muscles can restrict ankle mobility, affecting both dorsiflexion and plantar flexion.
Why Ankle Mobility Matters
If you’ve ever had trouble squatting down with your heels on the ground, or noticed your knees hurting during certain movements, it could be a sign that your ankle mobility needs some attention. Specifically, dorsiflexion (the movement where the foot is pulled toward the shin) is crucial for exercises like squats, lunges, and other lower body movements. When your dorsiflexion is limited, your ability to squat deeply, run efficiently, or even climb stairs could be affected.
Additionally, plantar flexion (pointing the toes) is just as important, especially for standing up from the ground, jumping, and balancing. A lack of adequate dorsiflexion can also impact your walking and running gait, contributing to knee, hip, and even lower back pain.
Assessing Your Ankle Mobility
Before we begin the exercises, it’s helpful to check where you stand regarding ankle mobility. Here are two simple tests you can do to check how much dorsiflexion you have:
1. Dorsiflexion Test (Lunge Test)
- Drop down into a lunge position, with your back knee on the floor and your front knee bent over your big toe.
- Try to bend your front knee past your big toe while keeping your heel on the ground.
- Take a selfie photo to measure the angle between your shin and foot. You’re aiming for an angle between 10° and 20°—anything more is a good sign of mobility!
2. Plantar Flexion Test (Seated Position)
- Sit with your feet flat on the floor and then point your toes, bringing your heels together.
- Sit back on your heels and hold this position for at least two minutes. If you’re comfortable here without any pain or discomfort, that’s a good sign your plantar flexion range is functional.
These tests can help you determine if you lack dorsiflexion or plantar flexion. If either movement feels restricted or painful, it’s time to start working on improving your ankle mobility.
Best Ankle Mobility Exercises
Improving ankle mobility can help reduce pain, prevent injuries, and boost your performance. Below are three exercises that will activate, stretch, and mobilize your ankle joints to increase your flexibility and strength.
1. Lower Leg Muscle Activation
Before you begin stretching, it’s important to activate the muscles in your lower legs. This exercise will wake up the smaller muscles around your ankles, helping you improve both flexibility and strength for better movement.
How to do it:
- Setup: Place a block between your thighs to engage your inner thigh muscles. Stand next to a countertop or a sturdy chair for balance.
- Positioning Your Feet: Place your right foot in dorsiflexion (toes pointing up towards your shin), ensuring that your knee is aligned directly over your big toe. Keep your left foot in plantar flexion (toes pointing down).
- Lift and Activate: Lift the ball of your right foot while maintaining balance. As you do this, focus on activating the muscles in the front of your lower leg. You may feel some trembling, which is a sign that these smaller muscles are being activated.
- Hold: Maintain this position for 30 seconds to 1 minute, squeezing the block for stability. This will help activate and strengthen the muscles.
- Switch Sides: After completing one side, repeat the exercise on the other leg to activate both ankles equally.
This activation exercise is essential for improving the neuromuscular connection that helps stretch and strengthen the ankle.
2. Runner’s Lunge
The Runner’s Lunge is a great exercise for stretching the calves and increasing ankle dorsiflexion, which is critical for movements like squats and running.
How to do it:
- Get into Position: Start by stepping into a lunge position with your right foot forward and your left foot extended back. Make sure your right knee is aligned directly over your right ankle.
- Press the Heel Down: Gently press your left heel towards the ground. You should feel a stretch at the top of your calf (gastrocnemius).
- Hold for 1 Minute: Hold this position for about one minute to target the upper calf.
- Deepen the Stretch: After one minute, gently bend your back knee to deepen the stretch and target the soleus (the lower part of your calf).
- Switch Legs: After completing the stretch on one leg, switch to the other leg and repeat.
This exercise will help loosen tight calves and improve the range of motion in your ankle, particularly for better squatting and running form.
3. Lightning Bolt Pose
This is a fantastic stretch for both ankle mobility and hip flexibility, as it stretches the hip flexors while also working on ankle plantar flexion.
How to do it:
- Sit on Your Knees: Begin by sitting on your knees with your feet apart and knees together. If needed, place a block under your bum to elevate yourself and make the stretch more comfortable.
- Lower Your Bum (Optional): If you can, try lowering your bum towards the floor, but be mindful of your knees. You can also try floating your bum off the block if you’re flexible enough.
- Target Both Ankles and Hip Flexors: This pose stretches your ankles and hip flexors, helping to open up both areas.
- Hold for 1-2 Minutes: Stay in the position for 1-2 minutes, aiming for a stretch intensity of about 7-8 out of 10. Adjust the pressure on your ankles if it gets too intense.
- Relax: Allow yourself to fully relax in the position, letting your ankles gradually release tension. For a gentler stretch, you can do this on a softer surface like a mattress or carpet.
This stretch is perfect for enhancing plantar flexion (pointing the toes) and is an excellent way to simultaneously work on ankle mobility and hip flexibility.
Transitioning from Mobility to Strengthening
Once you’ve worked on improving the range of motion in your ankle through mobility exercises, it’s essential to follow up with strengthening exercises. While mobility exercises help your ankle move more freely, strengthening exercises ensure that the muscles, tendons, and ligaments around the ankle are strong enough to support that newfound flexibility.
Think of it this way: mobility exercises create a solid foundation, but strengthening exercises build the strength needed to maintain stability and prevent injuries, especially as you start to push your ankle through greater ranges of motion. Combining both ensures that your ankles are not only more flexible but also more resilient.
Best Ankle Strengthening Exercises
Strengthening your ankles is key for preventing injury, improving your balance, and optimizing your athletic performance. These six exercises target the foot and ankle complex, focusing on improving balance, stability, and force absorption:
#1: Single Leg Balance
Why it works: The single leg balance exercise challenges the muscles around your ankle to stabilize your body, improving your overall balance and proprioception (awareness of your body in space). It mimics the essential function of the foot and ankle during running and walking, where your body supports itself on one leg at a time.
How to do it:
- Stand on one leg with your other leg lifted off the ground.
- Focus on keeping your knee slightly bent for better stability.
- Hold this position for 30 seconds to 1 minute on each leg, ensuring your foot stays engaged by gently activating the arch and toes.
- Keep your core tight to help maintain balance.
Progression:
- Increase the difficulty by closing your eyes or standing on an unstable surface like a soft mat or a balance pad.
- Try performing this exercise while moving your arms in various directions to increase the challenge.
#2: Single Leg Balance with Heel Raise
Why it works: This variation of the single leg balance exercise incorporates heel raises, which specifically target the calf muscles and foot arch. This exercise not only improves ankle stability but also strengthens the muscles that support the arch, essential for shock absorption during dynamic movements.
How to do it:
- Stand on one leg with the opposite leg raised off the ground.
- Slowly raise your heel while balancing on the ball of your foot, keeping your knee slightly bent.
- Hold the raised position for a count of 3–5 seconds, then lower your heel back down to the ground slowly for a count of 6 seconds.
- Repeat for 5-10 reps on each leg.
Progression:
- Perform this exercise on a soft surface or foam pad for added instability.
- Increase the duration of each heel raise hold for 10 seconds to further challenge ankle strength and stability.
#3: Balance Board Beam Training
Why it works: Balance board beam training increases the challenge on your foot and ankle muscles, requiring them to engage more intensively to maintain stability. The narrow and unstable surface of the balance beam forces the muscles of the feet and ankles to work together for better coordination and balance.
How to do it:
- Set up a balance board or use a DIY balance beam, such as a PVC pipe or a narrow wooden board.
- Stand on the balance beam with both feet, positioning your body upright.
- Walk slowly across the beam, focusing on maintaining stability with every step, gripping the beam with your toes for extra support.
- Perform this for 1–2 minutes for 2–3 sets.
Progression:
- Increase the difficulty by walking backwards on the beam or incorporating more advanced movements, such as stepping side-to-side along the beam or standing with one foot on the beam.
#4: Heel Raise Walks
Why it works: Heel raise walks are excellent for strengthening the calf muscles, specifically targeting the gastrocnemius and soleus. These muscles are responsible for stabilizing the foot and absorbing impact forces during walking and running, so strengthening them is vital for better performance and injury prevention.
How to do it:
- Start by standing with your feet hip-width apart.
- Push through the balls of your feet, lifting your heels off the ground slightly.
- Begin walking while keeping your heels elevated, taking small steps.
- Walk for 1–2 minutes or for a distance of 30–40 feet per set, ensuring that you maintain proper balance throughout.
Progression:
- For added challenge, try walking on an unstable surface like a foam pad or perform this exercise while holding weights in your hands to further engage the lower leg muscles.
#5: Heel Raise Walks on the Stairs
Why it works: Performing heel raise walks on stairs is an advanced variation of the heel raise exercise that increases the range of motion in your calves. Elevating your body onto the balls of your feet as you walk up the stairs forces your ankle and foot to work harder, improving calf strength and foot arch stability.
How to do it:
- Stand on the edge of a stair with the balls of your feet on the step and your heels hanging off the edge.
- Press through your toes to lift your heels, holding the elevated position for 2–3 seconds.
- Begin walking up the stairs while keeping your heels elevated throughout the movement.
- Walk for 1–2 minutes or take 10-12 steps per set.
Progression:
- Perform this exercise on a higher step to increase the range of motion for a deeper calf stretch and more muscle activation.
- Alternatively, perform the exercise on a slanted platform to focus on different muscle groups.
#6: Supinated Lunges
Why it works: Supinated lunges target the foot’s ability to supinate, which is essential for stabilizing the arch and providing a solid foundation for force production during dynamic movements like running and jumping. This exercise enhances the foot’s ability to lock into a stable position, strengthening the lower leg muscles that control supination.
How to do it:
- Set up a slightly slanted platform, such as a balance board, or use a plank to mimic the slanted surface.
- Stand on the platform with one leg in front and the other leg behind.
- Step back with the opposite leg into a reverse lunge while keeping your weight pressed down into the foot of the front leg.
- Push back up through your front foot, maintaining the arch and stabilizing the foot throughout the movement.
- Perform 10–12 reps on each leg for 2–3 sets.
Progression:
- As you progress, try performing this exercise on a flat surface without the slanted platform to engage the foot’s supination more effectively.
- You can also hold weights for added resistance, making the exercise more challenging and targeting the calf and ankle stabilizers more intensely.
In conclusion, improving ankle mobility and strength doesn’t have to be complicated. Stick with these exercises, and you’ll be on your way to healthier, more resilient ankles in no time!