A front hip circle is a skill performed on the uneven bars, where the gymnast swings their body around the bar in a circular motion. The goal is to create a fluid, controlled movement while maintaining a straight body position. This move helps gymnasts develop strength, coordination, and proper body positioning for more advanced bar routines.
In this comprehensive guide, we will explore each step of the front hip circle in detail.
Step 1: The Starting Position
The front hip circle begins with proper alignment and body control. Establishing a strong, balanced starting position is crucial for generating the momentum needed to complete the circle.
Push-Up and Alignment
To start, grip the bar with your hands about shoulder-width apart and engage your arms. From this grip, push yourself upward until your thighs rest against the bar. This position, known as the “starting push-up,” helps set the stage for the front hip circle.
- Straight Arms: Your arms should be fully extended, with your shoulders over the bar. This ensures you’re properly aligned and creates a solid base for the movement.
- Strong Core Engagement: Tighten your core, keeping your torso in a straight line from your head to your feet. This core activation is essential for controlling the movement throughout the circle.
- Arch Position: You’ll need to create a slight arch in your back, extending your chest forward. This arch helps generate momentum as you begin to swing your legs around the bar.
Snap to Hollow
Once you’re in the arch position, the next crucial step is transitioning into a hollow body position. This transition, known as the “snap,” is one of the most important aspects of the front hip circle. As you swing, the hollow position helps you maintain control and balance, enabling a smooth rotation around the bar.
- Hollow Position: To achieve a hollow body, tuck your pelvis and engage your abs, pulling your legs together and slightly in front of you. Your lower back should be flat, and your chest should remain open.
- The efficiency of the Snap: The transition from arch to hollow should be quick and fluid. The “snap” is what propels you through the circle, so practicing a sharp and precise snap is key.
The correct alignment and smooth transition between these two positions set the foundation for the front hip circle.
Step 2: Introducing the Pull-Over Drill
The pull-over drill is a valuable exercise for helping gymnasts understand the core mechanics of the front hip circle. This drill simulates the circular motion while giving you a chance to focus on timing, body control, and momentum.
The Movement
Start by gripping the bar as you would for a front hip circle. From here, release your grip momentarily, bringing your legs up and around the bar while grabbing your thighs. This action simulates the swinging motion of the front hip circle and allows you to feel the rhythm of the movement.
- Controlled Swing: Focus on swinging your legs forward and then around the bar, engaging your core muscles to keep the motion smooth. The goal is to generate momentum without losing control.
Understanding Momentum
The pull-over drill helps you understand how to create and maintain the momentum necessary for the front hip circle. By practicing this movement, you’ll get a better feel for how the swing works and how your body should move through the circular arc.
- Core Engagement: During the swing, keep your core engaged to control the speed and direction of the circle. This drill teaches you how to use your core to regulate momentum and maintain a consistent rhythm.
Rhythm and Engagement
As you complete the drill, focus on the rhythm of the movement and how your body engages. Grab your thighs during the swing to feel how the muscles in your core and hips work together to complete the circle.
Step 3: Using a Thera-Band for Added Support
Once you’ve familiarized yourself with the basic movement, a Thera-Band can be a helpful tool to support your body as you continue to develop the front hip circle.
Setup
To set up the Thera-Band drill, tie the band securely around your hips and loop it over the bar. The band should be tight enough to provide gentle resistance but not so tight that it restricts your movement. This setup will keep your hips close to the bar, offering support as you transition between the arch and hollow positions.
- Secure Connection: The Thera-Band provides a sense of stability, ensuring that your hips don’t drift too far from the bar, which can disrupt the fluidity of the movement.
Focus on the Snap
As you perform the front hip circle, focus on the transition from the arch to the hollow position. The resistance from the Thera-Band will help you stay connected to the bar, allowing you to really fine-tune your body’s snap into the hollow.
- Controlled Arch-to-Hollow Transition: With the extra support, you can focus on timing the transition. The goal is to develop the habit of snapping your body into the hollow position at the right moment to maintain momentum and keep the circle smooth.
Stability and Control
The Thera-Band offers more stability during the movement, allowing you to focus on your form without worrying about drifting away from the bar. It’s an excellent way to build confidence as you develop the strength and technique needed for the full movement.
Step 4: Spotted Front Hip Circle
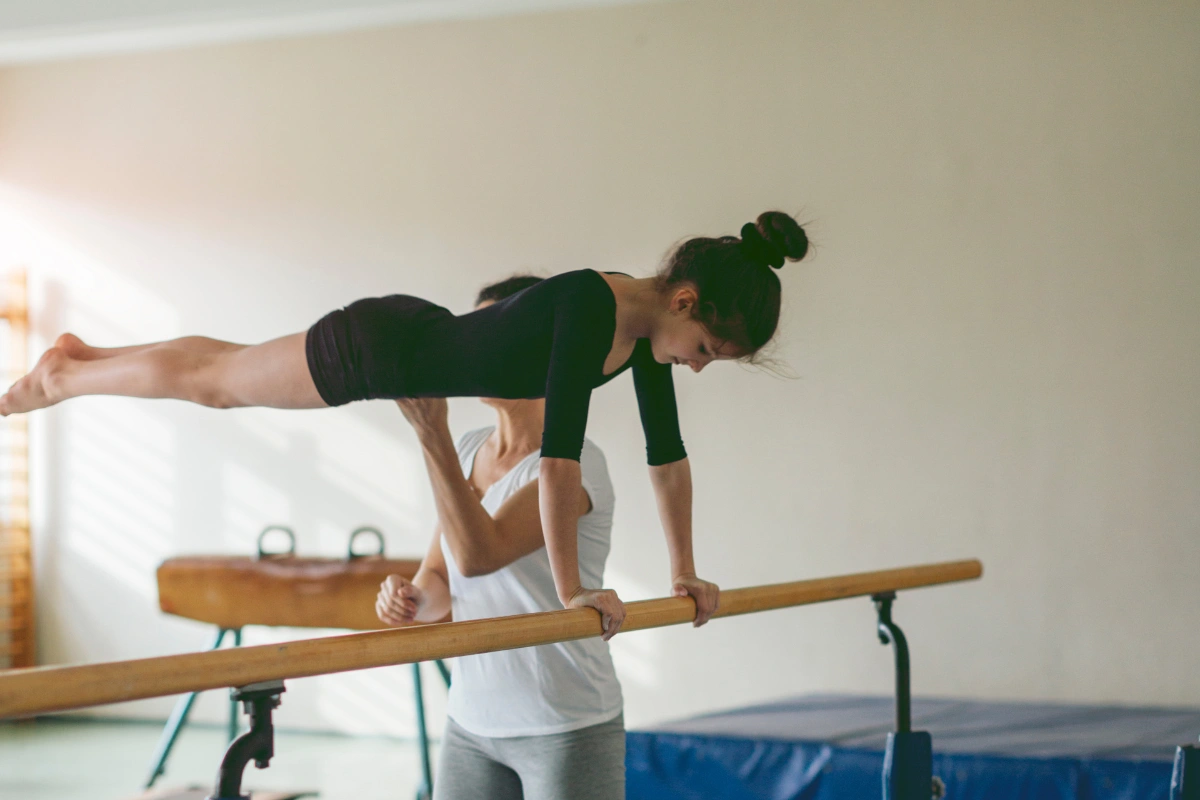
Once you’ve practiced with the Thera-Band, the next step is to perform the front hip circle with the help of a coach. A spotter will assist you by providing guidance and support, allowing you to execute the skill with more confidence and precision.
Arch and Snap
As you begin the movement, stretch into the arch position, and then snap into the hollow body as you swing around the bar. Your coach will assist by ensuring that you maintain the correct body alignment and help you through any difficult parts of the motion.
- Straight Arms: Make sure to keep your arms straight during the initial push and as you complete the circle. This helps with control and sets up the next step of the movement.
Spotting for Support
A coach’s spot can be crucial during this stage. They will provide physical assistance, ensuring that you are maintaining straight arms and proper form as you swing around the bar. This can help you learn how to correct any imbalances in your technique and improve overall body awareness.
- Hands-On Guidance: Your coach may gently guide your body or provide support in areas like your legs, hips, or torso to help you maintain a proper body position and build strength.
Feet in Front
At the end of the circle, focus on holding your feet in front of you. This is an essential part of the move, as it sets you up for the next transition, such as a kip or cast. The correct foot position is key to maintaining fluidity in your routine and avoiding disruptions.
Step 5: Executing the Full Front Hip Circle
Now that you’ve practiced the individual components, you’re ready to perform the full front hip circle independently. At this stage, you should be able to complete the movement smoothly and confidently.
Stretch and Snap
Start by extending your body into the arch position. From here, swing your legs forward, snap into the hollow position, and continue rotating around the bar. The key to a successful front hip circle is ensuring that the movement flows without interruption.
- Smooth Rotation: Focus on keeping your body tight and controlled throughout the movement. The transition from arch to hollow should feel seamless and natural as you circle around the bar.
Feet in Front
When you reach the end of the circle, your feet should remain in front of your body, ready for the next transition. Keeping your feet in front helps you maintain balance and control as you prepare for the next skill, such as a cast or release move.
- Seamless Transition: The position of your feet should allow for a smooth flow into the next part of your routine. A clean finish at the end of the front hip circle is crucial for performing a strong cast or other bar skills.
Straight Arms
Throughout the movement, ensure that your arms remain straight at both the start and end of the circle. Straight arms help keep your body aligned and provide better control, contributing to a smoother, more efficient movement. They also reduce the risk of overextending or losing control during the swing.
In conclusion, mastering the front hip circle is more than just learning a skill—it’s about building a foundation of control, rhythm, and strength that supports your entire gymnastics journey.


