Mastering the handstand begins with the humble headstand. Why, you ask? Well, it serves as a crucial stepping stone towards achieving stability in your handstand. Practicing the headstand helps build balance, strengthen your core, and align your body—essential elements for moving up to the more challenging handstand.
Comparing Headstands and Handstands: What’s the Difference?
Headstands and handstands are both popular inverted postures in yoga and gymnastics.
Headstands are considered more stable due to the larger base of support (forearms and head). It requires good core strength, but less shoulder and arm strength compared to a handstand, making them generally easier for beginners to learn.
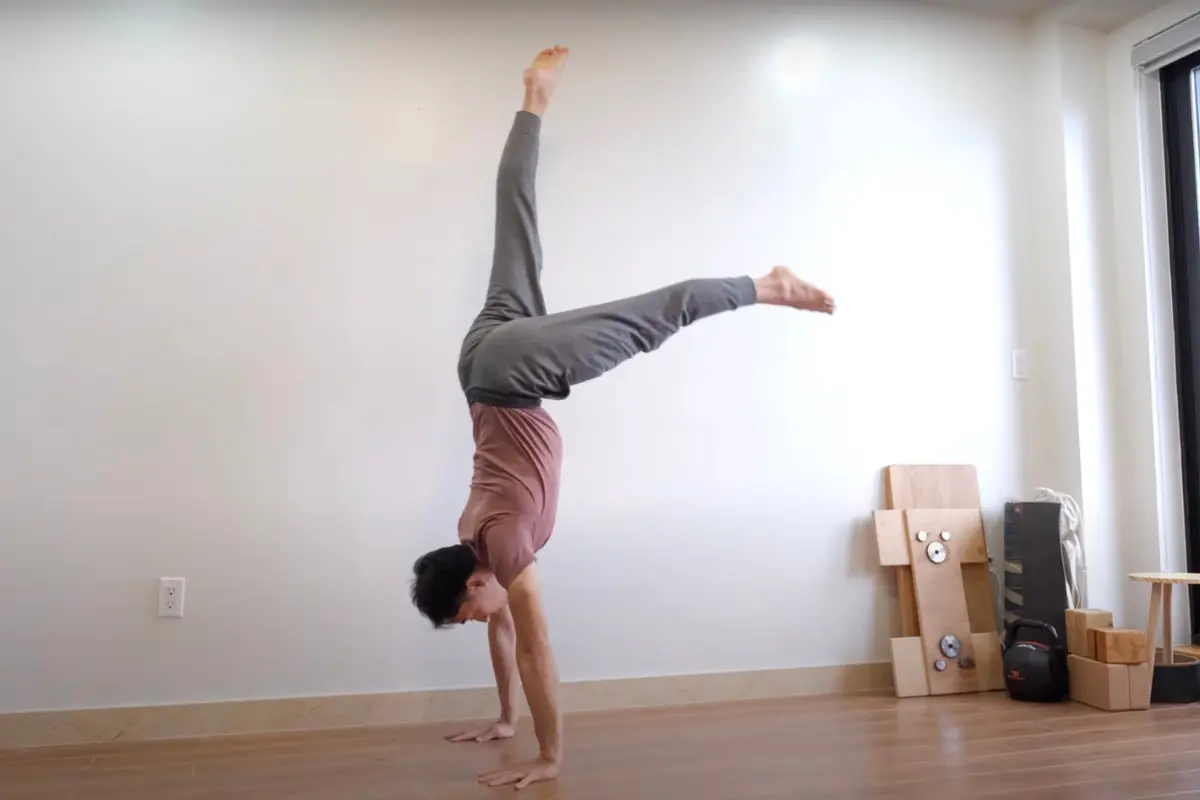
Handstands have a higher center of gravity and a smaller base of support (only the hands), demanding shoulder, arm, and wrist strength as well as core stability to maintain the pose. They are typically more challenging than headstands because they require balancing the entire body weight on just the hands.
Here’s how they differ in several key aspects:
| Aspect | Headstand (Sirsasana) | Handstand (Adho Mukha Vrksasana) |
|---|---|---|
| Body Support | Supported by the head and forearms with the head on the ground and hands clasped or palms flat, forming a triangular base with the elbows. | Supported solely by the hands with arms fully extended and palms flat on the ground. |
| Skill and Strength | Easier than handstands due to a larger base of support and lower center of gravity; requires good core strength but less shoulder and arm strength. | Requires significant shoulder, arm, and wrist strength, as well as excellent balance and core control; considered more challenging. |
| Benefits | Improves blood flow to eyes, brain, and scalp; helps relieve stress and mild depression; strengthens the spine, neck, shoulders, and arms. | Boosts circulation to the upper body; strengthens shoulders, arms, and wrists; enhances upper body stability and balance; improves mood by increasing blood flow to the brain. |
| Risks | Risk of neck strain or injury if not performed correctly; important to engage the core and use the arms to support body weight to minimize pressure on the head and neck. | Risk includes wrist strain or injuries and potential for falling, which can lead to other injuries; proper warm-up and gradual progression are essential to reduce risks. |
| Progression and Mastery | Often the first inversion learned due to its stability; techniques like using a wall for support can aid beginners. | Involves more steps to master, such as first mastering the headstand, practicing against a wall, and gradually learning to balance without support. |
Why Start with Headstands? A Detailed Look at the Basics
The handstand is a challenging pose that requires substantial balance and strength. Before attempting a handstand, it is recommended to start with the headstand. This initial practice ensures you develop a better sense of alignment, crucial for executing a flawless handstand later.
1. Creating a Tripod
When starting to learn a handstand, many people are eager to jump straight into the final pose without laying the necessary groundwork. However, a more structured and safer approach involves beginning with what’s called a tripod. This method uses your head and hands as three points of support, creating a stable base by also utilizing the knees resting on the elbows.
Here’s how to start building this essential skill:
- Set Your Reference Point: Use a line on the ground where your hands will be placed. Spread your hands wide with fingers forward, maximizing the surface area to push against the ground.
- Form a Triangle: Position your head in front of your hands to create a triangular base. This not only provides stability but also prevents you from toppling over as it distributes your weight evenly. Ensure your head is not directly between your hands but slightly forward, around your forehead area.
- Enter Squat Support Position: By starting in a squat and placing your head on the ground, it becomes easier to then balance your knees on your elbows. This setup is crucial as it helps maintain your hips tucked under, avoiding an arched back which can lead to instability.
- Progress to the Headstand: Once you find balance in the tripod position, begin experimenting with straightening one leg at a time or lifting your knees off your elbows. This practice will gradually build the strength and stability required for a headstand.
- Advanced Balance: After achieving balance in the headstand with your knees off your elbows, try to move into a tuck position and then into a full headstand without the support of your elbows. This progression enhances your balance and stability further, preparing you for the full execution of a handstand.
2. Transition Into A Headstand
Once you feel steady in the tripod stance, the next step is to ease into a headstand. Try straightening one leg at a time or lifting your knees off your elbows to balance just on your head and hands.
When you’re ready, work on straightening your legs up into the full headstand position. Over time, aim to hold this position without using your elbows for support, concentrating on achieving perfect balance and stability.
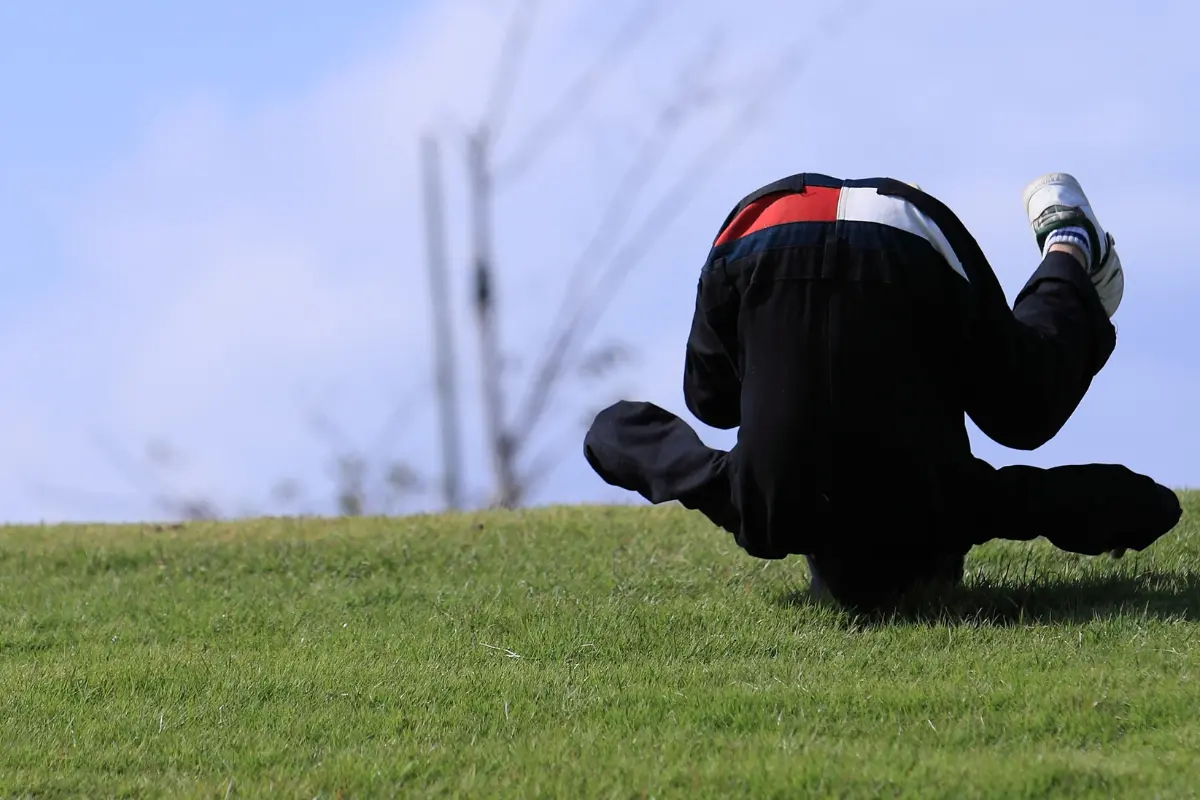
It’s important to recall the safety tips covered in earlier tutorials, such as how to roll and fall properly—a critical aspect of learning any physical skill. Being comfortable with falling is essential, as it is a natural part of the learning process.
3. A Press to The Headstand
Once you’ve successfully held the headstand position, you can focus on building shoulder strength through a technique known as “a press to the headstand,” where you move from a tucked position to an extended position while pushing slightly off your head.
Here’s how you can progress through these stages:
- Starting in a Tucked Position: From your headstand, start with your feet tucked close to your body. This position is crucial as it prepares you for the motion needed to push into a full extension.
- Extending the Legs: Gradually extend your legs upward from the tuck position. This motion requires both strength and timing as you push off with your head and hands to create lift. The extension should be controlled and deliberate to maintain stability.
- Creating Lift Using Momentum: Utilize the momentum from extending your legs to slightly lift your head off the ground. This movement trains your body to manage shifts in weight and balance, crucial for transitioning to a handstand.
- Gaining Control and Confidence: As you practice these movements, focus on the control required to manage the lift without landing on your head. Gaining confidence in this area is essential for advancing to more complex maneuvers.
- Working on Your Balance and Body Alignment: The headstand allows you to fine-tune your balance and the alignment of your body while upside down. Using your head for support can simplify the balance compared to a handstand, where only your hands touch the ground.
When practicing the press to the headstand, it’s crucial to time your leg extensions and pushes correctly to ensure a controlled lift. This not only builds shoulder strength but also boosts your confidence in performing a precise handstand.
As you keep practicing and honing these techniques, you’ll notice your balance and control getting better, leading to a solid, confident handstand.