Gymnastic rings are the finest training equipment one can acquire. They are affordable, compact, simple to install, virtually indestructible, and lightweight. Most importantly, they provide a full-body workout.
Starting with gymnastic rings can be challenging, as even basic exercises demand significant strength and control. However, with the right approach and a clear understanding, you can start your journey with gymnastic rings confidently.
Here are some essential tips for beginners to help you get started:
Build Stability on The Ring
Before beginning the training with gymnastic rings, it’s important to consider how the setup affects their stability. The length of the straps will impact the stability—the longer the straps, the more unstable the rings.
This instability makes every exercise more challenging. For instance, dips on rings are much harder than dips on parallel bars due to the constant motion of the rings. For beginners, it’s advisable to hang the rings about 2 meters off the ground to minimize instability. Setting the rings at hip height, firmly grasp them, and gradually shift your weight onto your arms.
Exercises to keep stable on the ring:
- Basic Ring Hold:
Once you feel confident enough, challenge yourself by lifting your legs off the ground. Initially, your hands will likely tremble, try to keep them as close to your body. Focus on holding this position for a few seconds, concentrating on stabilizing your hands, with your arms slightly bent at the elbows.
Aim to maintain this position for 15 seconds before moving on to more challenging variations, such as the advanced support hold.
- Plank on Rings:
Set the rings a few centimeters above the ground. Enter a plank position and hold it, focusing on stabilizing your arms and core. Build up to a steady 15-second hold.
First Exercises to Master
Once you’ve mastered stability on the gymnastic rings, it’s time to begin incorporating movement in a controlled manner.
- Ring Dip
Start in a support position and begin to bend your elbows, keeping the rings close to your body to help maintain stability. When you reach the lowest point of the movement, push yourself back up to complete your first ring dip.
This exercise demands significant strength and control but can be adapted to increase difficulty. Aim for at least 10 solid repetitions, maintaining stability throughout the entire movement.
- Ring Push-Ups:
Rings push-ups follow a similar stabilization principle. Start in a plank position on the rings, slowly lower your chest towards the rings, then push back up. During these exercises, focus particularly on stabilizing your hands, and keep all muscles tight. Like with dips, progressing to 10 well-executed reps is a good goal.
If you’re finding traditional pull-ups challenging, consider beginning with easier variations such as inclined pull-ups or pull-ups with your feet elevated. These modifications can help you build the necessary strength to progress in your ring training.
- Ring Rows
Set the rings at waist height and perform rows while holding the false grip. This helps build strength in a horizontal pulling motion.
Begin the exercise by positioning yourself underneath the rings, extending your legs in front of you with feet flat on the ground, and keeping your body straight from shoulders to heels. Engage your core and maintain a rigid body as you pull yourself up by driving your elbows toward your ribs until your chest is close to the rings.
At the top of the movement, briefly squeeze your shoulder blades together to maximize back muscle engagement. Finally, slowly lower yourself back to the starting position, maintaining control throughout the descent.
Training the False Grip
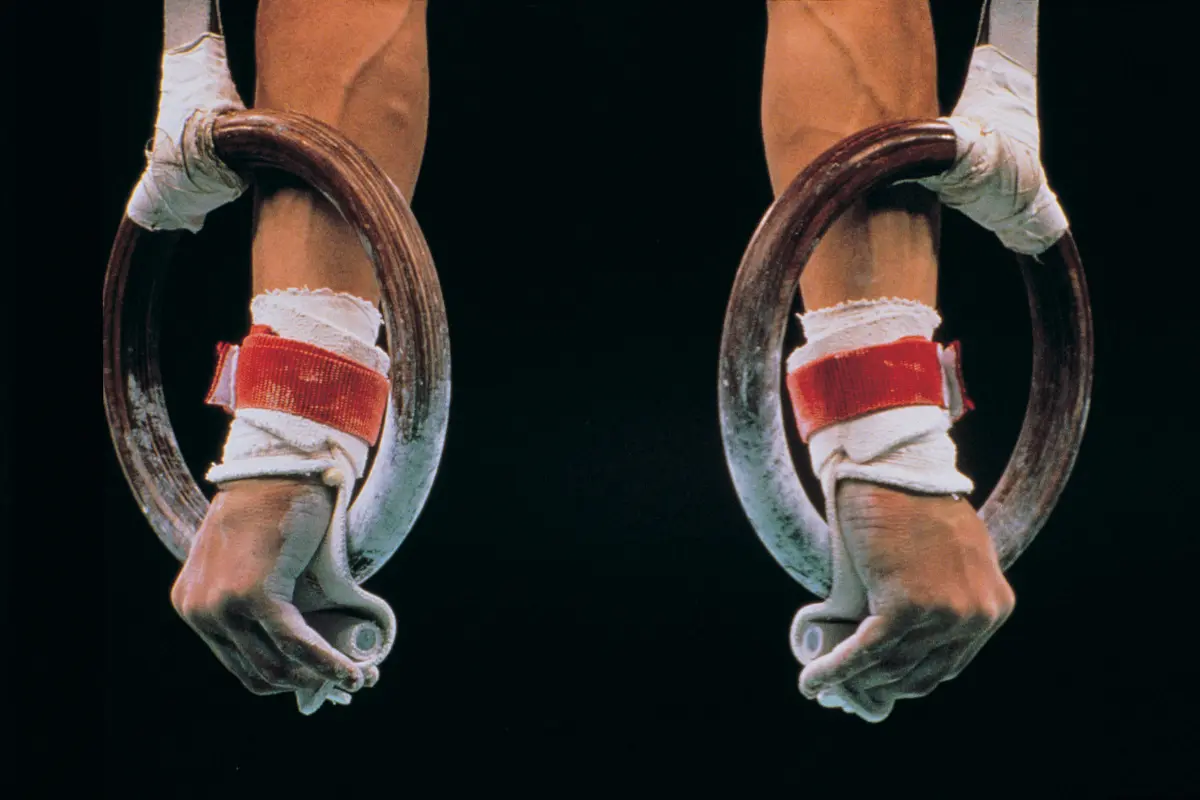
An essential technique in ring training is the false grip, crucial for progressing to more advanced movements like the muscle-up. In a false grip, the ring rests not in the palm but under it, at the wrist bend. This position allows for a smoother transition during more complex exercises.
Begin by practicing the false grip on a pull-up bar before moving to rings. Grip the bar with your wrist bent so that the bar sits in the wrist crease.
Once comfortable on a bar, move to rings but keep them at a low height. Hang with your feet still touching the ground. Focus on placing the bottom of the ring in the wrist crease with your wrists bent forward. This is your basic false grip position.
As you gain proficiency, gradually attempt to straighten your arms. Aim to progress to the point where you can sustain a hang in the false grip for at least 15 seconds.
Continuous Progression
The beauty of ring training lies in its endless variety and scalability. You can continue to progress for decades using just gymnastic rings. Even as you advance, there’s always room to innovate and enhance your routines. Keep exploring new exercises and pushing your limits.


