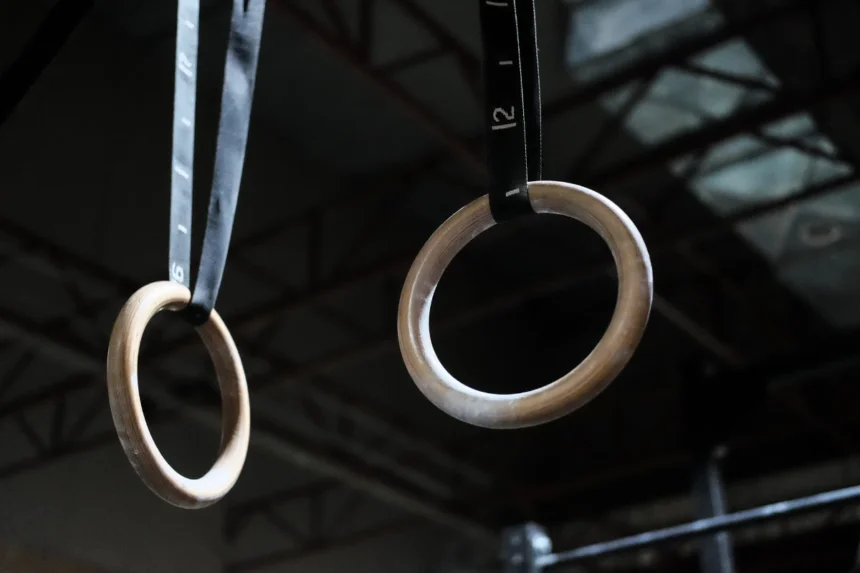
The beauty of gym rings is their adaptability: you can lower them for push-ups, set them mid-height for dips, raise them for pull-ups, or even practice advanced skills like muscle-ups and levers.
But before you can start training, you need to set them up properly. Doing this the right way ensures both safety and ease of use. An uneven strap, a poorly chosen anchor point, or a wrongly threaded buckle can all make the rings frustrating, or even unsafe.
In this guide, we’ll walk through everything you need to know to set up gym rings.
Step 1: Find a Secure Anchor Point
The first step is choosing a strong and reliable place to hang your rings. Your anchor must be able to hold far more than your bodyweight since dynamic movements (like kipping or swinging) create additional force.
Good anchor options include:
- A pull-up bar – A simple indoor option, as long as it’s stable and securely mounted.
- Overhead rafters – Popular in garages or basements where exposed beams are accessible.
- Playground equipment – Thick monkey bars or overhead frames can be perfect, provided they’re built for adults.
- A sturdy tree branch – Great for outdoor workouts; just make sure it’s thick, healthy, and won’t snap under pressure.
⚠️ Safety Rule: If you wouldn’t feel confident doing a pull-up from your anchor point, don’t hang rings from it.
Step 2: Thread the Straps
Most gym rings come with long, heavy-duty nylon straps and a buckle system for adjusting height. Start by throwing one end of the strap over your anchor point so the buckle hangs down.
Keep the straps straight. As you feed them through, make sure they aren’t twisted. Twists create uneven tension, shorten the lifespan of your straps, and can make height adjustments harder.
Step 3: Attach the Rings
Now that the straps are hanging evenly, it’s time to attach the rings.
- Take the wooden or plastic ring and slide the strap through it.
- Press down on the buckle lever to open it.
- Important: Feed the strap from underneath the buckle (bottom to top).
- Not from the top—that setup looks messy and doesn’t hold as securely.
- Pull the strap through until it’s snug, then release the buckle lever to lock it in place.
Once both straps are threaded, you should have two secure loops with the rings hanging down evenly.
Step 4: Adjust the Height
Press the buckle open again and pull the strap to raise or lower each ring to the correct height.
Here are some general guidelines for common exercises:
- Pull-ups & muscle-ups → Rings near head or ceiling height.
- Dips → Rings around mid-chest level.
- Rows & push-ups → Rings lowered closer to the floor.
- Beginner practice → Waist height for support drills and basic stability exercises.
If your straps have numbered markings, use them to match both rings evenly. If not, measure visually and test by pulling down on both rings until they feel level.
Step 5: Deal with the Extra Strap Length
Straps are usually very long so they can fit around tall beams or tree branches. At home, though, this often leaves excess material hanging down.
Here’s how to manage it:
- Leave them hanging – If they don’t interfere with your movement, simply let them rest on the ground.
- Velcro tie-ups – Small Velcro wraps are a tidy way to secure extra length.
- Loop them – Fold the strap back onto itself and tie off neatly.
- Trim them (last resort) – If you’re sure you’ll never need the extra length, cut them shorter. Seal the ends with a lighter or glue to prevent fraying.
Step 6: Safety Check
Before your first workout, test your setup thoroughly.
- Tug test: Grab each ring and pull down hard to make sure the buckle holds.
- Bounce test: Put some weight on the rings and bounce slightly.
- Anchor check: Look up—make sure your bar, beam, or branch isn’t shifting.
- Strap check: Confirm both sides are even and free of twists.
Never skip this step. A loose buckle discovered mid-exercise can lead to injury.
Common Mistakes to Avoid When Setting Up Rings
Even with simple equipment like gym rings, there are a few pitfalls beginners often run into. Here’s what to watch out for:
- Uneven straps – If one strap is longer than the other, your body will always be tilted, making exercises harder and less effective. Always double-check the height.
- Twisted straps – A twist doesn’t just look sloppy—it also weakens the strap over time and can make the rings feel unstable.
- Incorrect buckle threading – Feeding the strap from the top instead of underneath can cause slipping. Always thread bottom-to-top through the cam buckle.
- Weak anchor choices – Don’t trust door frames, pipes, or flimsy beams. A failure here could lead to serious injury.
- Skipping the safety test – Always tug and bounce-test the rings before starting a session.
Avoiding these mistakes ensures your rings are safe, stable, and ready for any workout.
And that’s it. You’re ready to train! With your rings set up correctly, you now have one of the most effective strength and calisthenics tools at your disposal.